
Introduction
This guide shows you how to build an interactive map for your Airbnb welcome book using Atlas.co — a clean browser-based GIS platform. You don’t need coding skills. Just a few simple steps.
What is Atlas?
Atlas is a browser-based mapping tool.
It’s built for people with no GIS background.
No software or downloads needed — just a browser and internet.
Multiple people can edit the same map in real time.
It supports many file types. CSV, GeoJSON, KML, shapefiles and more. +
Interactive features like pop-ups, filters, heatmaps, and buffer zones are easy to enable.
Atlas offers free and paid plans. Public map viewers don’t need an account.
Step 1: Plan Your Map
Decide what guests need.
Some ideas:
- Nearby cafes, supermarkets, and transport.
- Walking routes, parks, beaches.
- Local tips or museums.
Organize data: collect addresses in a spreadsheet.
Include names, categories, addresses, URLs, contact info.
Access a sample spreadsheet here: link
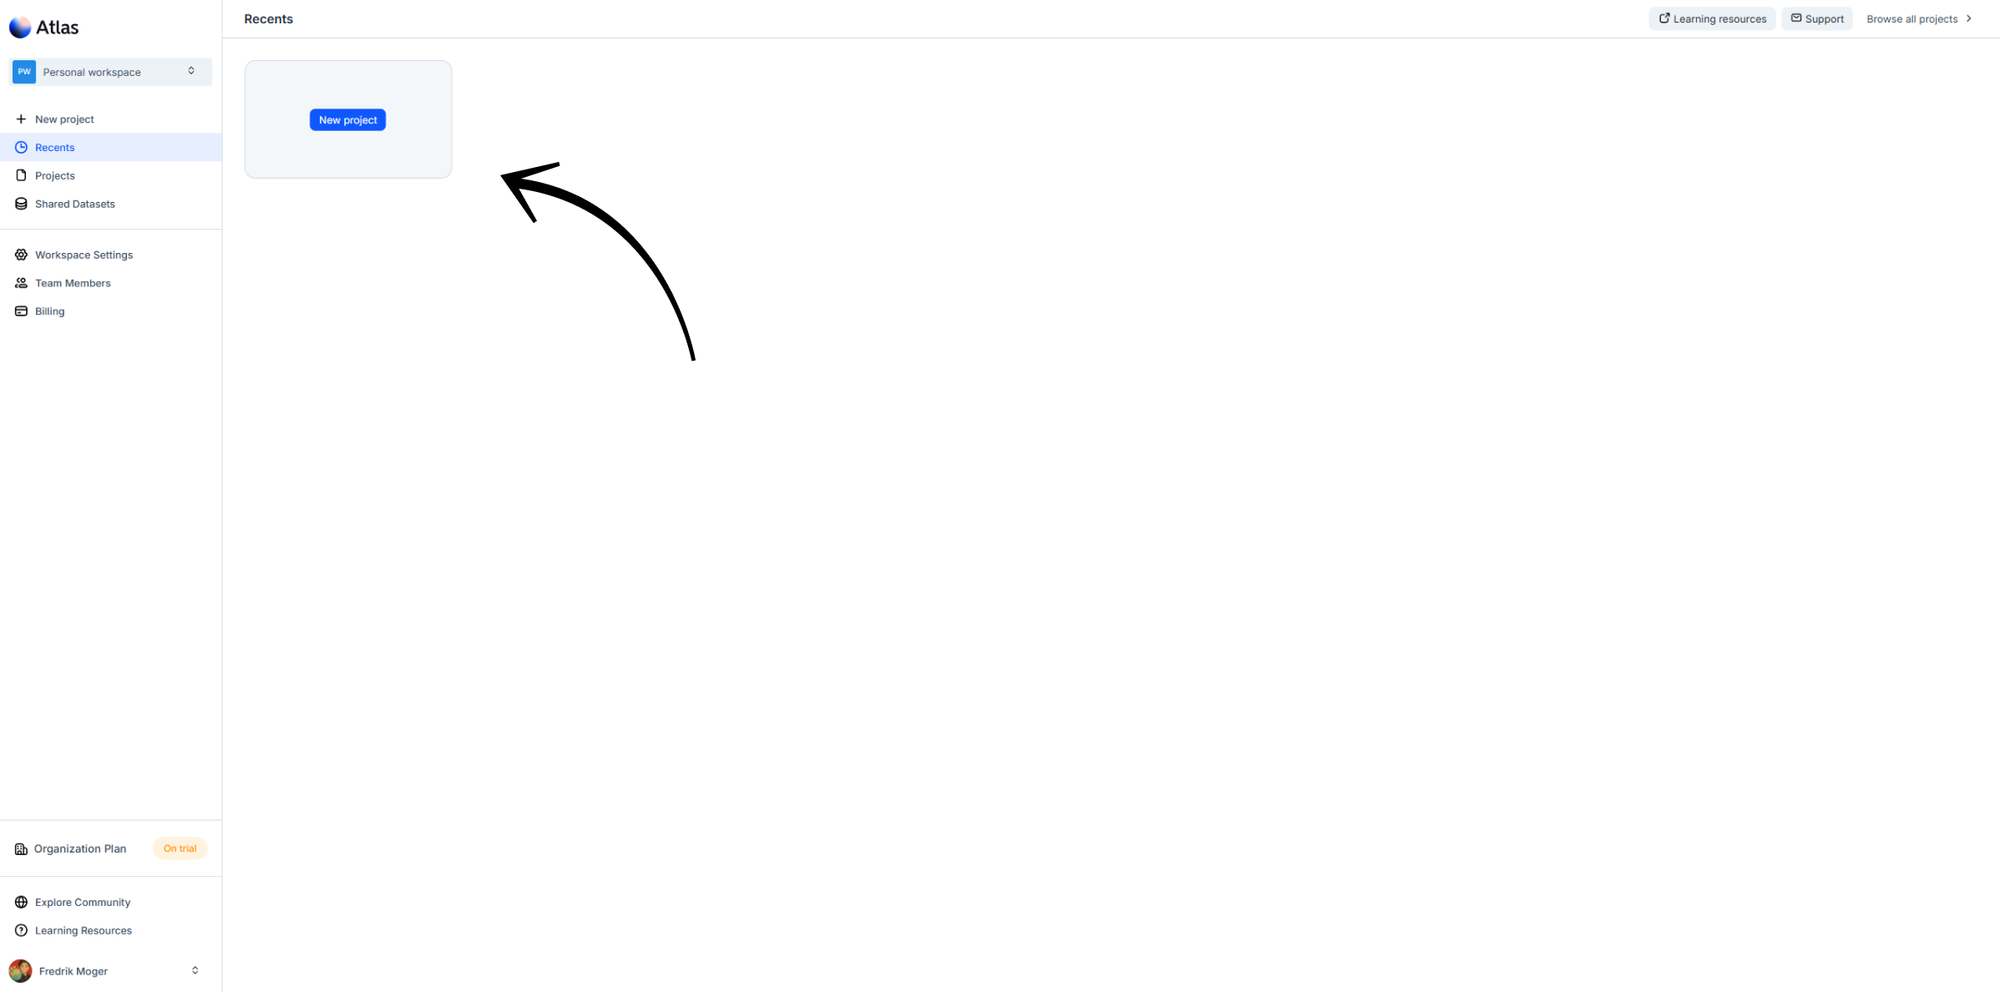
Step 2: Sign In and Create a Project
Open the Atlas website and log in or sign up.
Create a new project and give it a simple name.
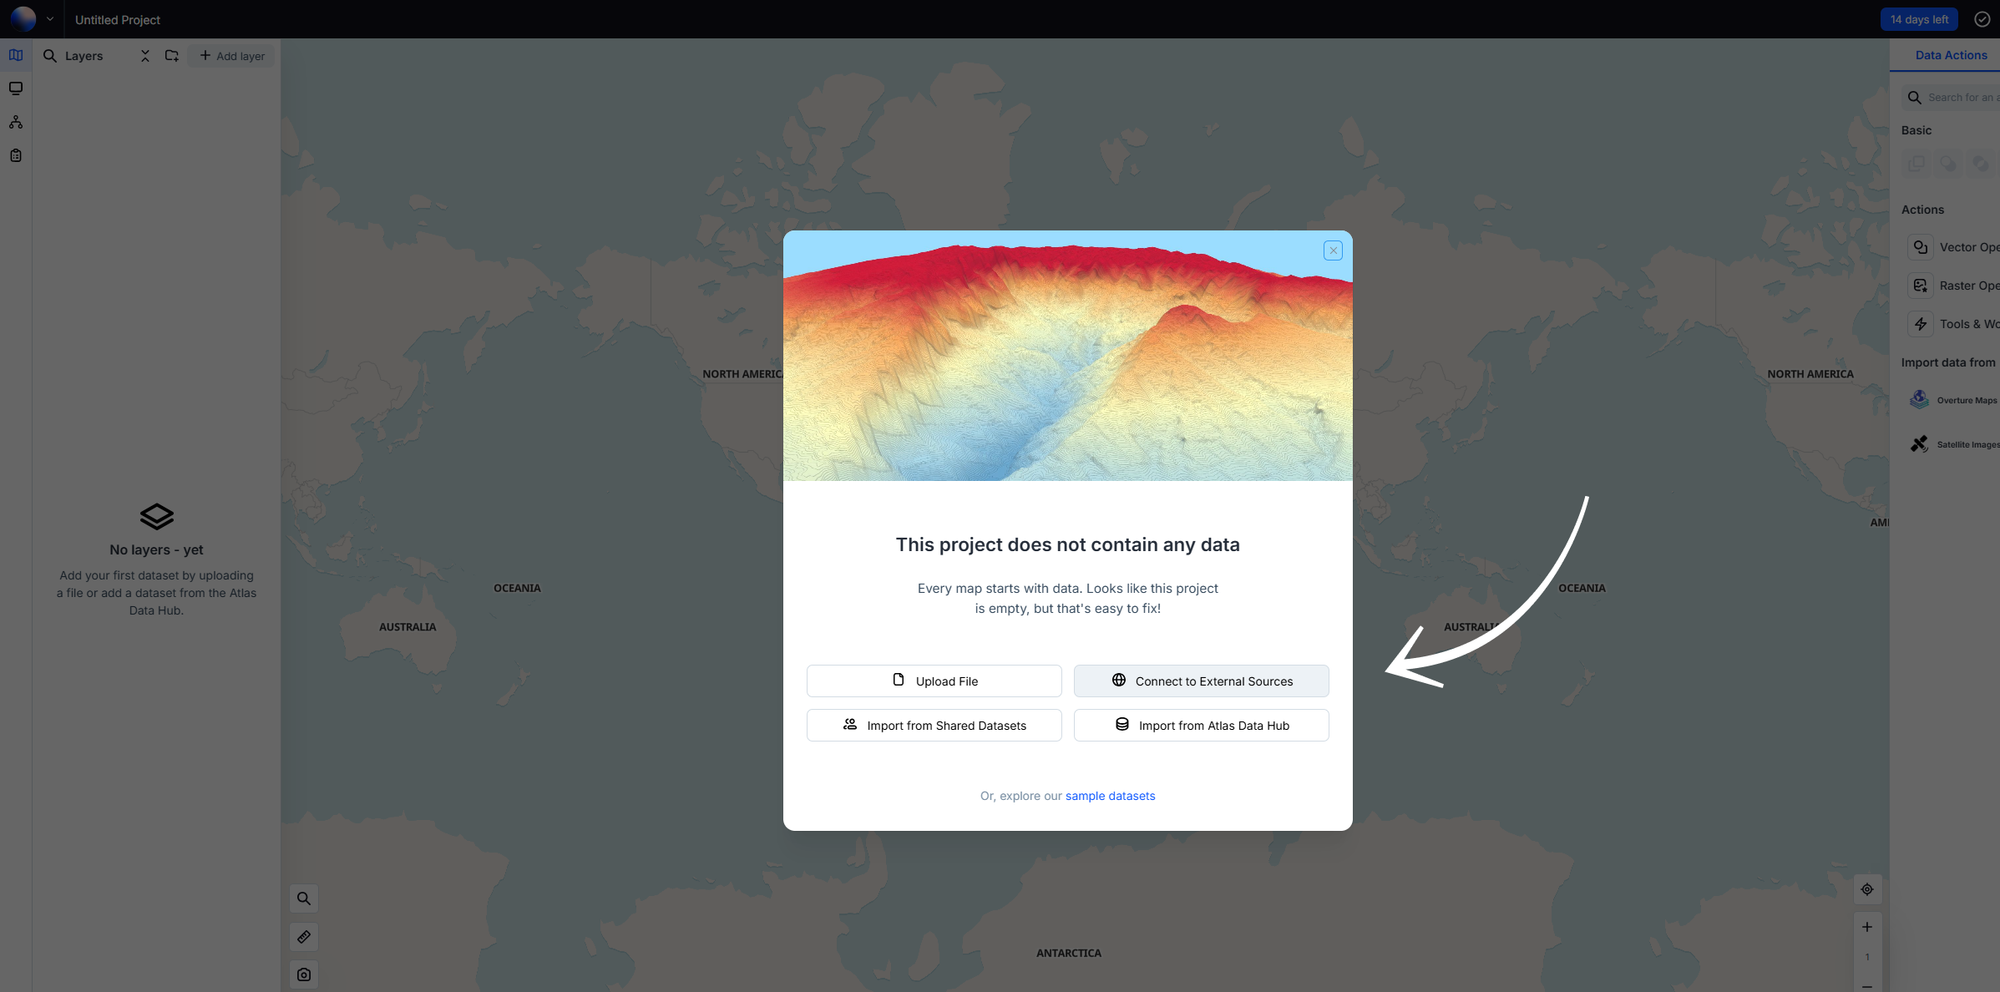
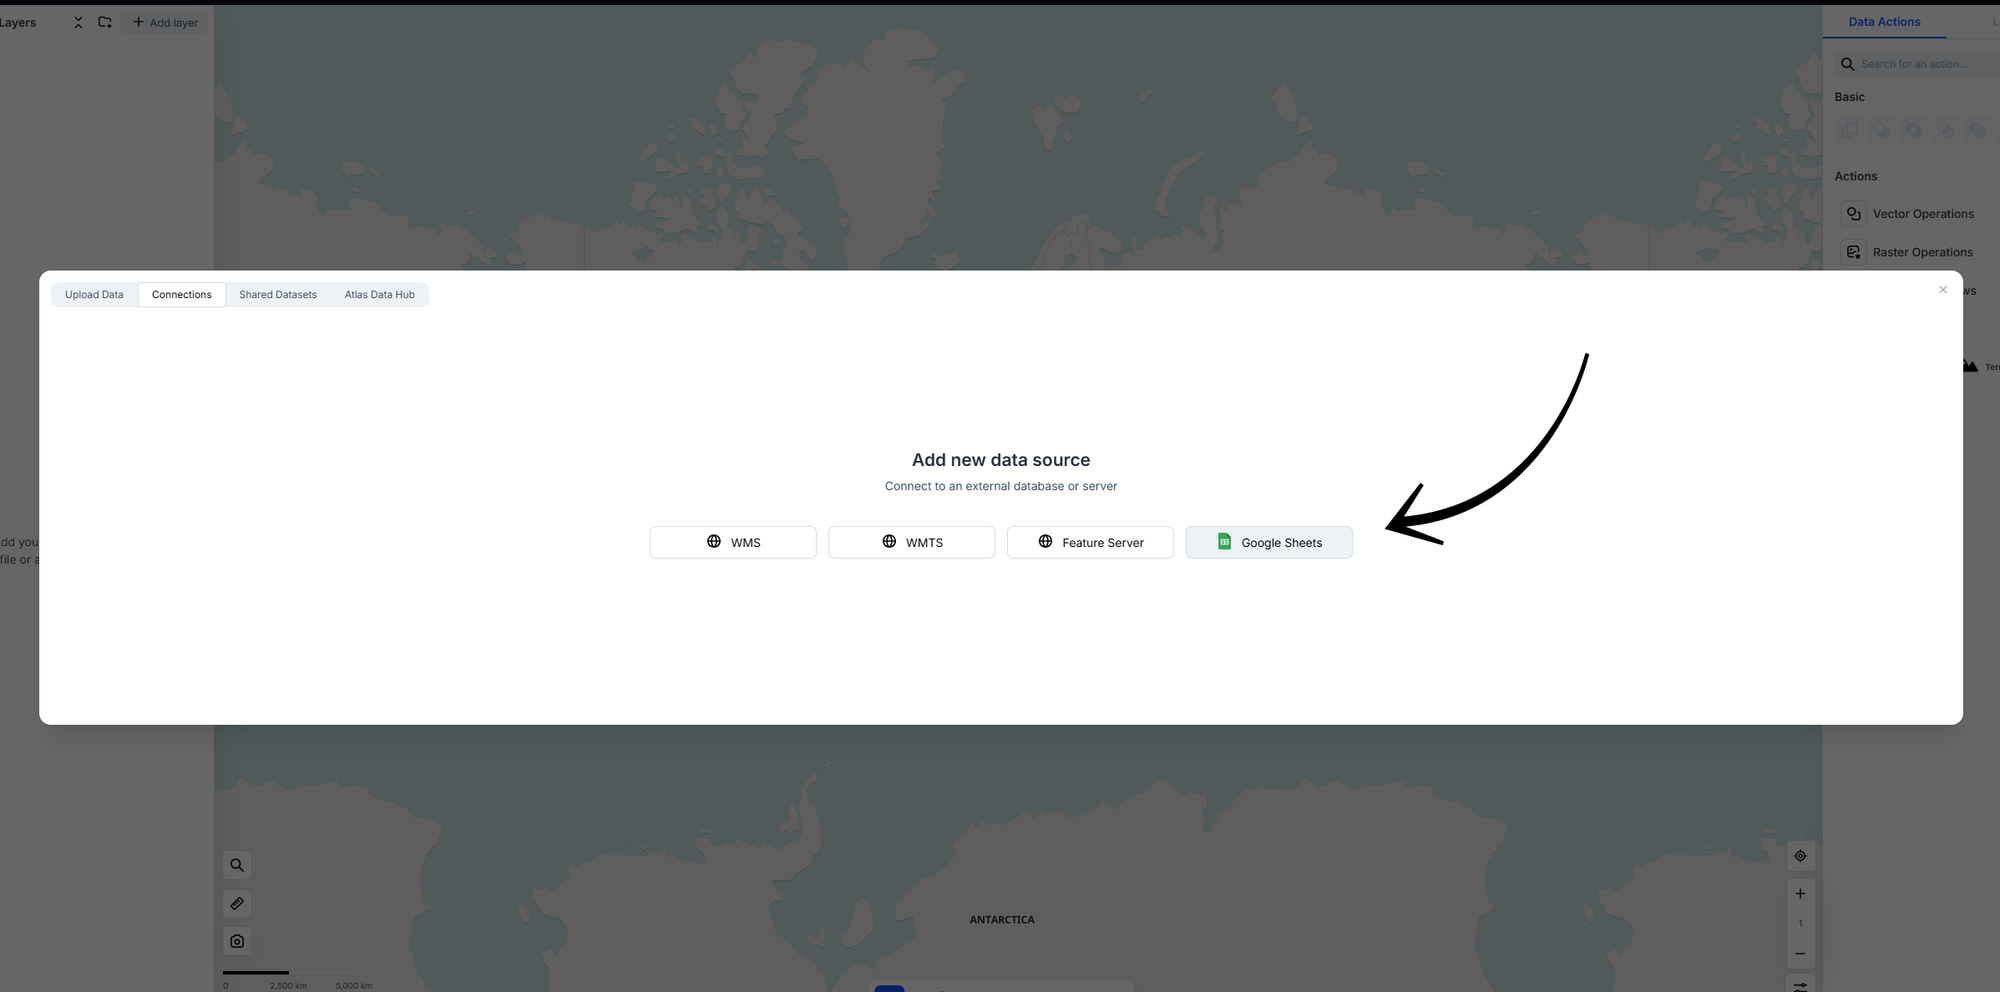
Step 3: Upload Your Data
Find the Add Data section in your project.
Upload your file (CSV, GeoJSON, etc.).
Atlas supports major formats like .csv, .geoJSON, .shp.
Verify that the map shows your points or lines correctly. Fix errors if needed.
Step 4: Style the Layers
Customize how each layer looks.
Pick colors, symbols, and labels that make sense.
Add a legend.
For example:
- Cafés in blue dots.
- Walking paths in dashed lines.
Step 5: Add Interactivity
Enable pop‑ups: clicking a point shows info such as address, opening hours, or link. To edit the information, click on the ellipsis icon on a layer and open the styling panel. Expand the popup menu and change content.
Navigate to builder in the left panel to add search or filtering options: guests can toggle categories like food, shops, or sights.
You can create multi‑layer maps that guests can switch between.
Step 6: Build a Guided Map App
Atlas’s Builder Mode lets you turn your map into a mini web app.
Add panels with instructions like “Click a coffee cup icon to see opening hours”.
Include filters, legends, and embedded images or links.
This becomes your interactive Airbnb guide.
See map here: https://app.atlas.co/embeds/GbEJd9c7BRd8vgfq0xjv
Step 7: Share and Embed
Once done:
- Publish your map.
- Get a shareable link, or
- Copy embed code.
Embed into your Airbnb welcome PDF or website. Viewers and commenters don’t need paid plans.
Step 8: Test and Update
Open your map in another browser or device to test.
Ask a friend to click around.
Fix any usability issues.
If you find new spots or update info later, simply edit the map in Atlas. Everyone using the link will see the latest version instantly.
Quick Checklist
[ ] Gather addresses and details in CSV or GeoJSON
[ ] Upload data into your Atlas project
[ ] Style each layer clearly (colors, shapes, legend)
[ ] Add pop‑ups for information
[ ] Add search or filter categories
[ ] Use buffer or heatmap tools if helpful
[ ] Use Builder mode to create an app interface
[ ] Publish and embed or share link
[ ] Test on other devices, then update as needed
Why Use Atlas for Airbnb Maps?
- No coding needed. Anyone can use it. :
- Interactive and engaging. Guests can explore at their own pace.
- Real‑time updates. Change once in Atlas, get updates across all uses.
- Collaborative. You can let someone else help build or edit your map instantly.
Adding an interactive Atlas map to your welcome book makes it easy and fun for guests to explore. It’s neat, clear, and updatable. Perfect for giving locals‑style tips with just a click.
That’s it. All done.