Learn How This Was Made
Are you looking for the perfect location for your real estate investments? With Atlas, you can streamline the process by leveraging geospatial analyses.
In this short guide, we’ll walk you through the steps of using the platform to identify high-value locations based on specific criteria, such as population density and proximity to essential amenities like schools, kindergartens, cafes, bus stops, and more.
Step 1: Analyzing Existing Population Density
Understanding the population distribution in your target area is crucial for making informed real estate decisions. The analysis of population density provides valuable insights into the concentration and distribution of people, helping you identify areas with potential demand and growth.
-
Upload Population Density Raster
Begin by uploading the Population Density raster in GeoTIFF format (Source)
This data serves as a foundation for your analysis, allowing you to visualize the density of the existing population across the selected area.

-
Generate Hexagonal Grid
Use the Create Grid analysis tool to create a grid of 250x250m hexagons within your area of interest. Hexagons offer a spatially uniform representation, providing a balanced view of population density distribution.

-
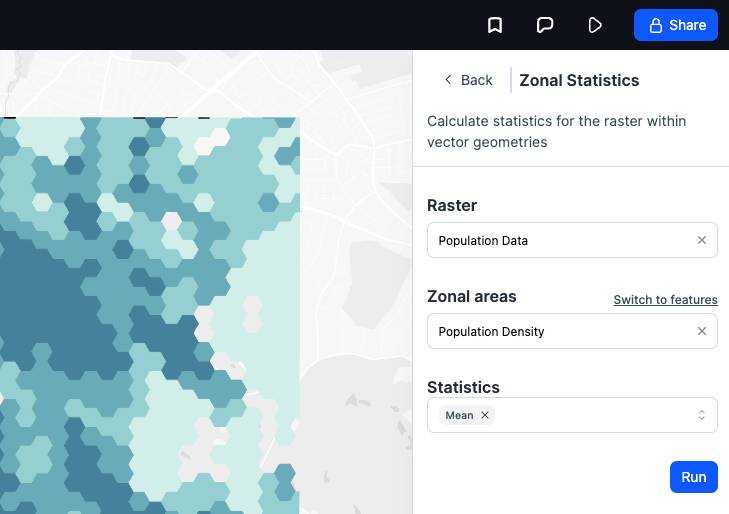
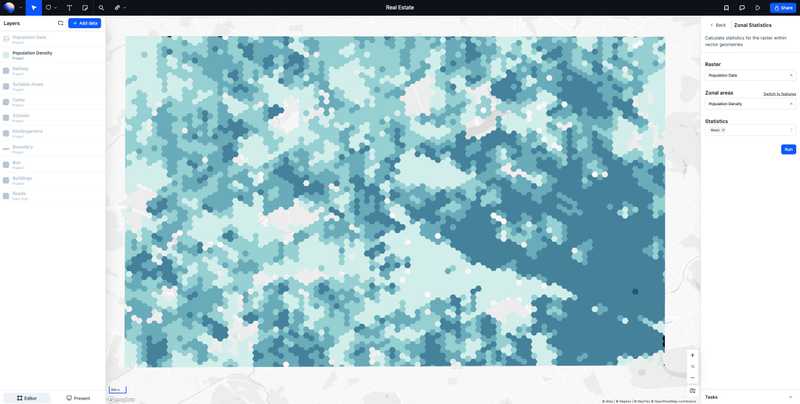
Zonal Statistics for Hexagons
Execute the Zonal Statistics tool to calculate the mean population density within each hexagon. This information creates a background layer that not only reflects overall density patterns but also aids in identifying areas with potential growth opportunities.

Step 2: Adding Relevant Datasets
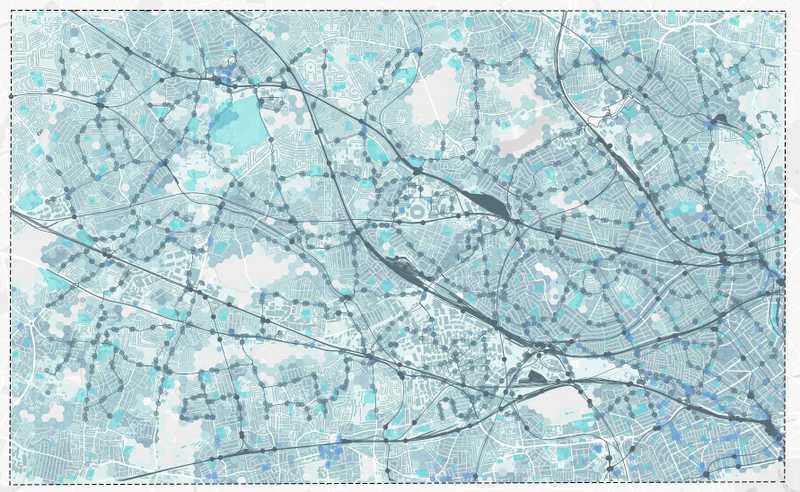
To make well-informed decisions in real estate site selection, it's essential to consider not only population density but also the surrounding environment. Atlas allows you to enhance your analysis by incorporating various datasets, providing a comprehensive understanding of the area.
Add Various Datasets:
- Railway: Understand the accessibility and connectivity of the area, which can influence property value.
- Café: Identify areas with commercial and recreational amenities, contributing to the overall appeal of a location.
- School and Kindergarten: Evaluate proximity to educational institutions, appealing to families and impacting property values.
- Bus and Roads: Assess the transportation infrastructure, a critical factor for convenience and accessibility.

Step 3: Constraint Analysis for Optimal Site Selection
Performing a Constraint Analysis on Atlas is a pivotal step in narrowing down potential real estate sites based on specific criteria. This process helps you filter through the available options, ensuring that the chosen location aligns with your project's objectives.

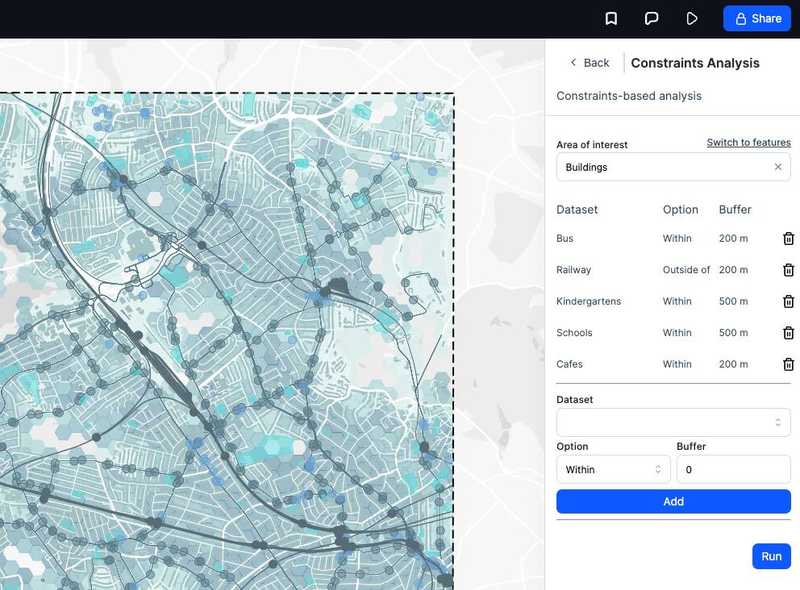
Define Parameters for Constraints:
- Bus within 200m
- Include buildings within a 200-meter radius of a bus stop to enhance accessibility and convenience.
- Railway outside of 200m
- Exclude buildings within a 200-meter radius of a railway to minimize noise and safety concerns.
- Kindergarten within 500m
- Include buildings with a nearby kindergarten to attract families and promote a family-friendly environment.
- School within 500m
- Include buildings within a 500-meter radius of a school, catering to families with school-going children.
- Cafés within 200m
- Include buildings within a 200-meter radius of cafes to offer recreational and social amenities.
By applying these constraints you find locations that meet specific criteria.
Results
After executing the Constraint Analysis on Atlas, you will be presented with a refined list of potential real estate sites that meet your specified criteria. This final step involves reviewing the results and making informed decisions for your project.

Need more help?
Still have questions? We're here to help! Reach out to our support team at help@atlas.co and we'll get back to you as soon as possible.

