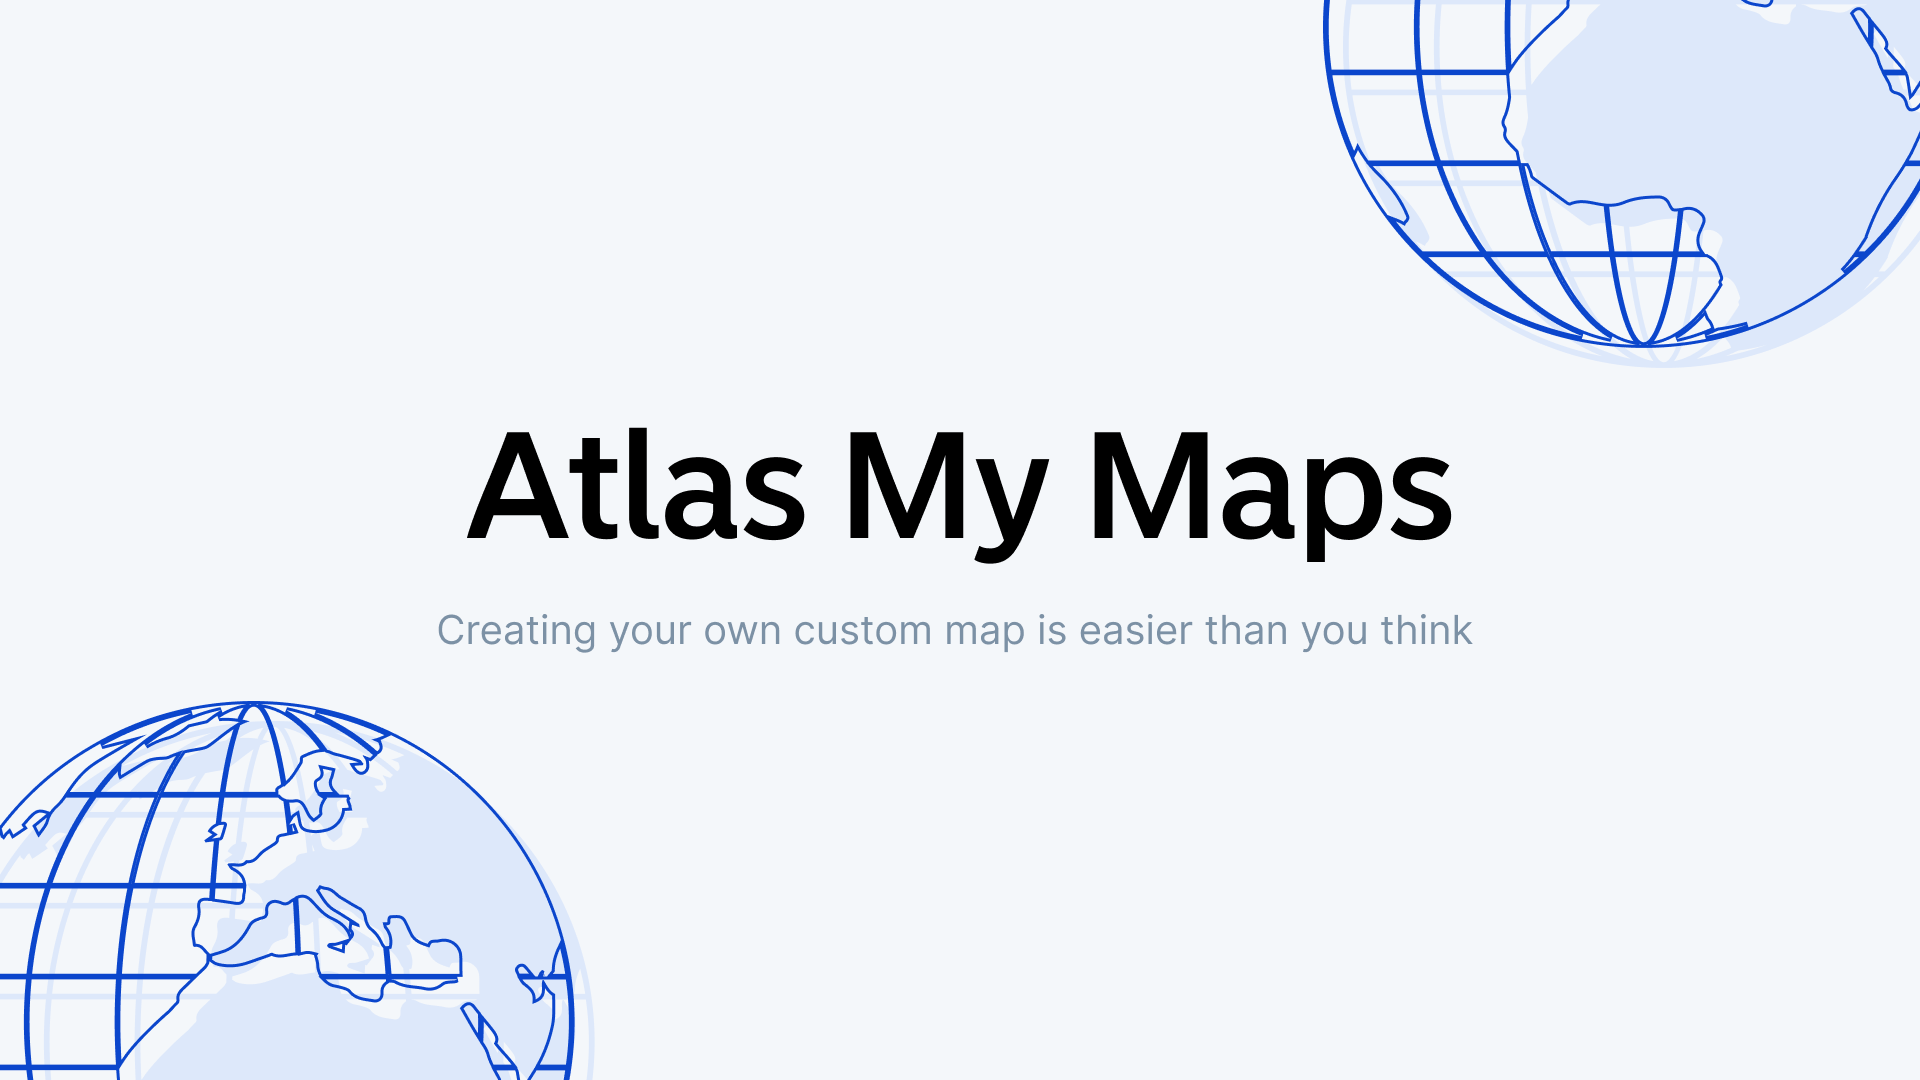
Creating your own custom map is easier than you think.
With Atlas, you can add pins, draw routes, and customize everything to fit your needs. Whether you're planning a trip, mapping out delivery routes, or just saving your favorite spots, Atlas makes it simple.
Let's go step by step.
Getting Started with My Maps
To create your own map, you need an Atlas account.
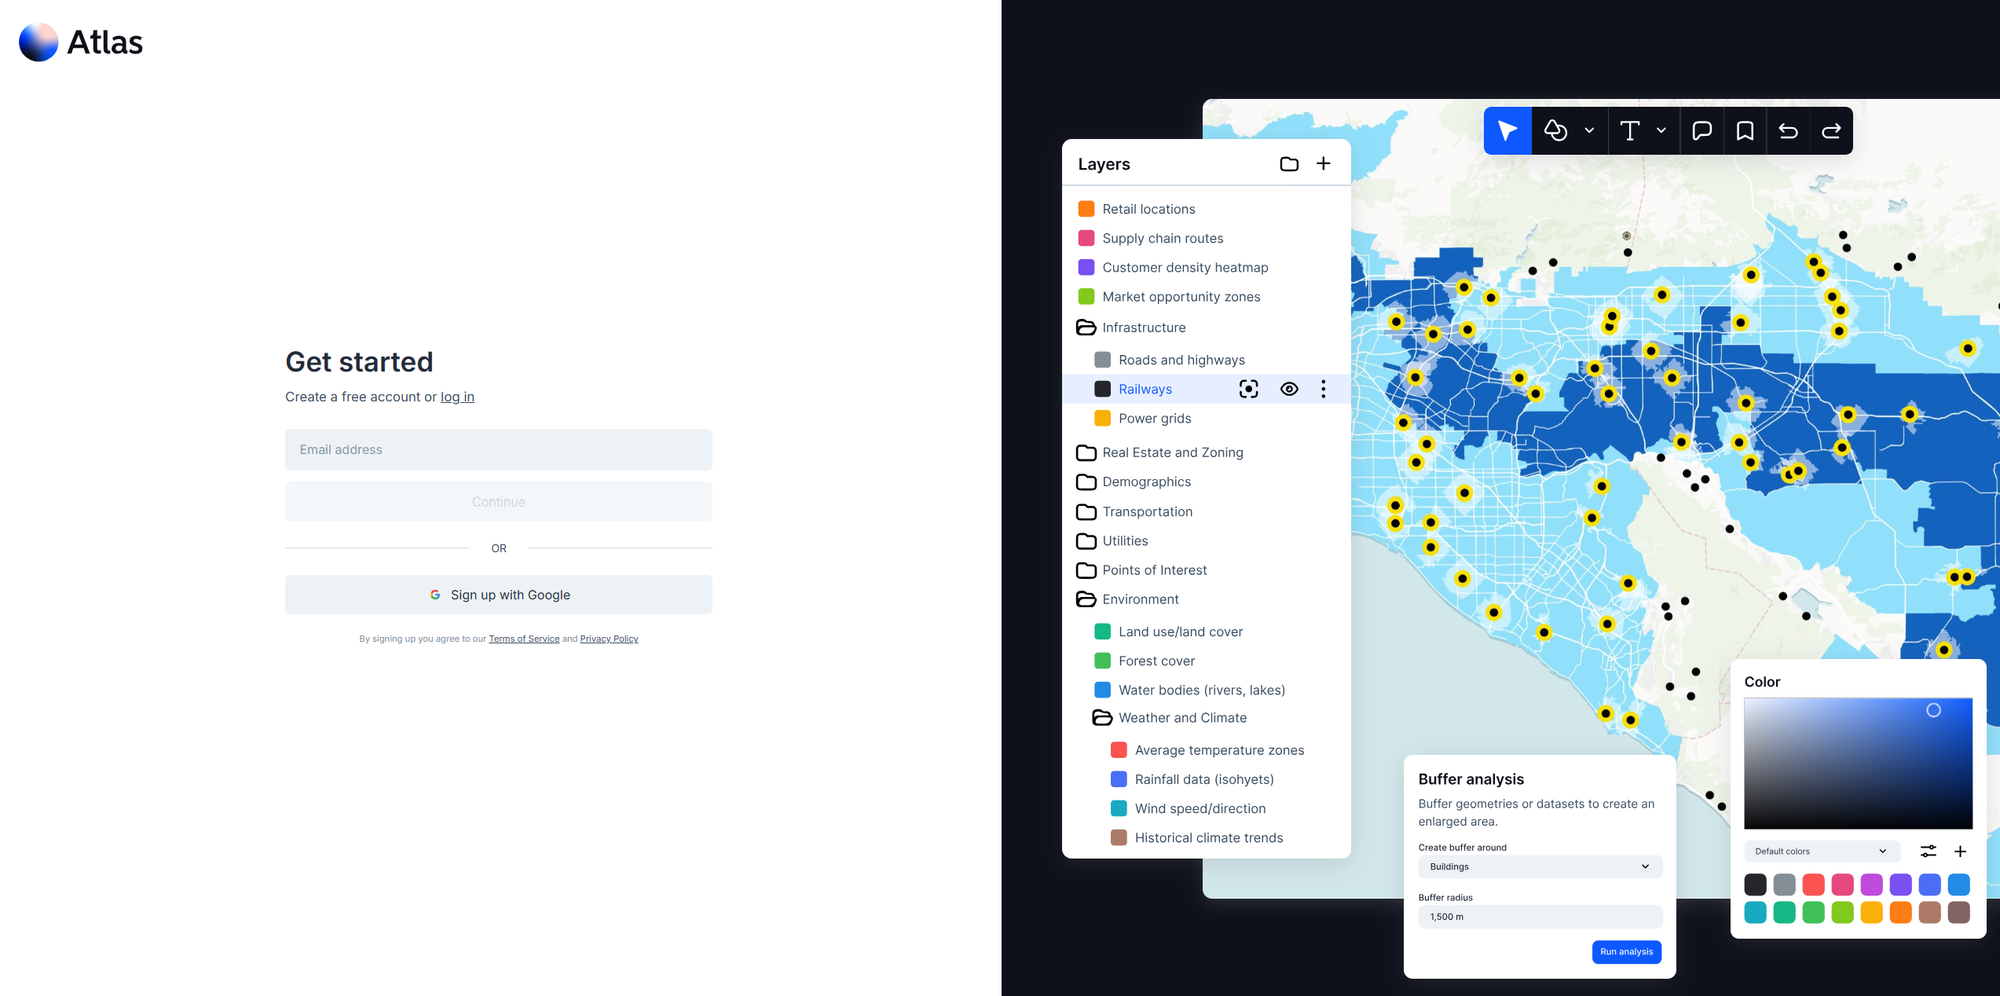
- Go to app.atlas.co and sign up, or sign in if you already have an user.
- Click on "Create New Project".
- Give your map a name.
That's it! Now you have a blank map to work with.
Adding Points to Your Map
Points help mark important locations.
- Click the Point tool in the top bar as shown in the image.
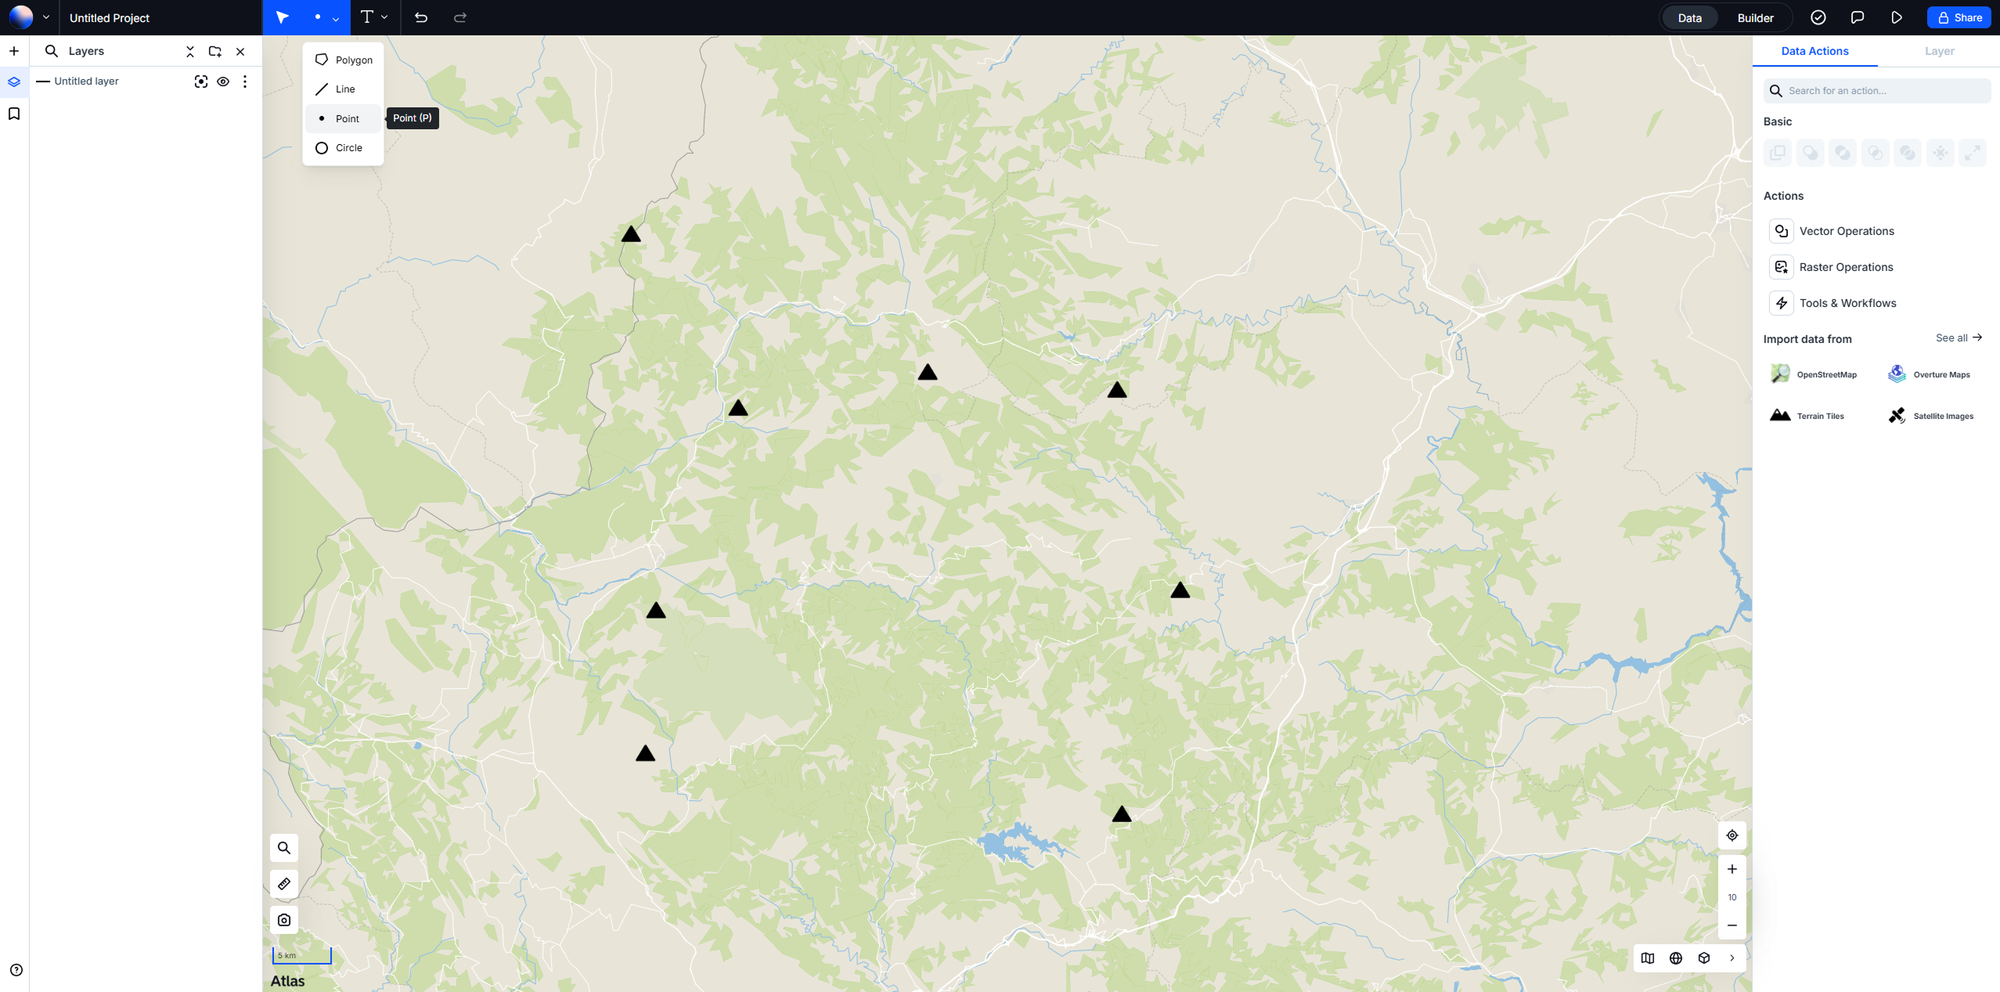
- Click anywhere on the map to drop one or multiple points.
- Give it a name and add details (like notes or links) by opening the data table and create fields.
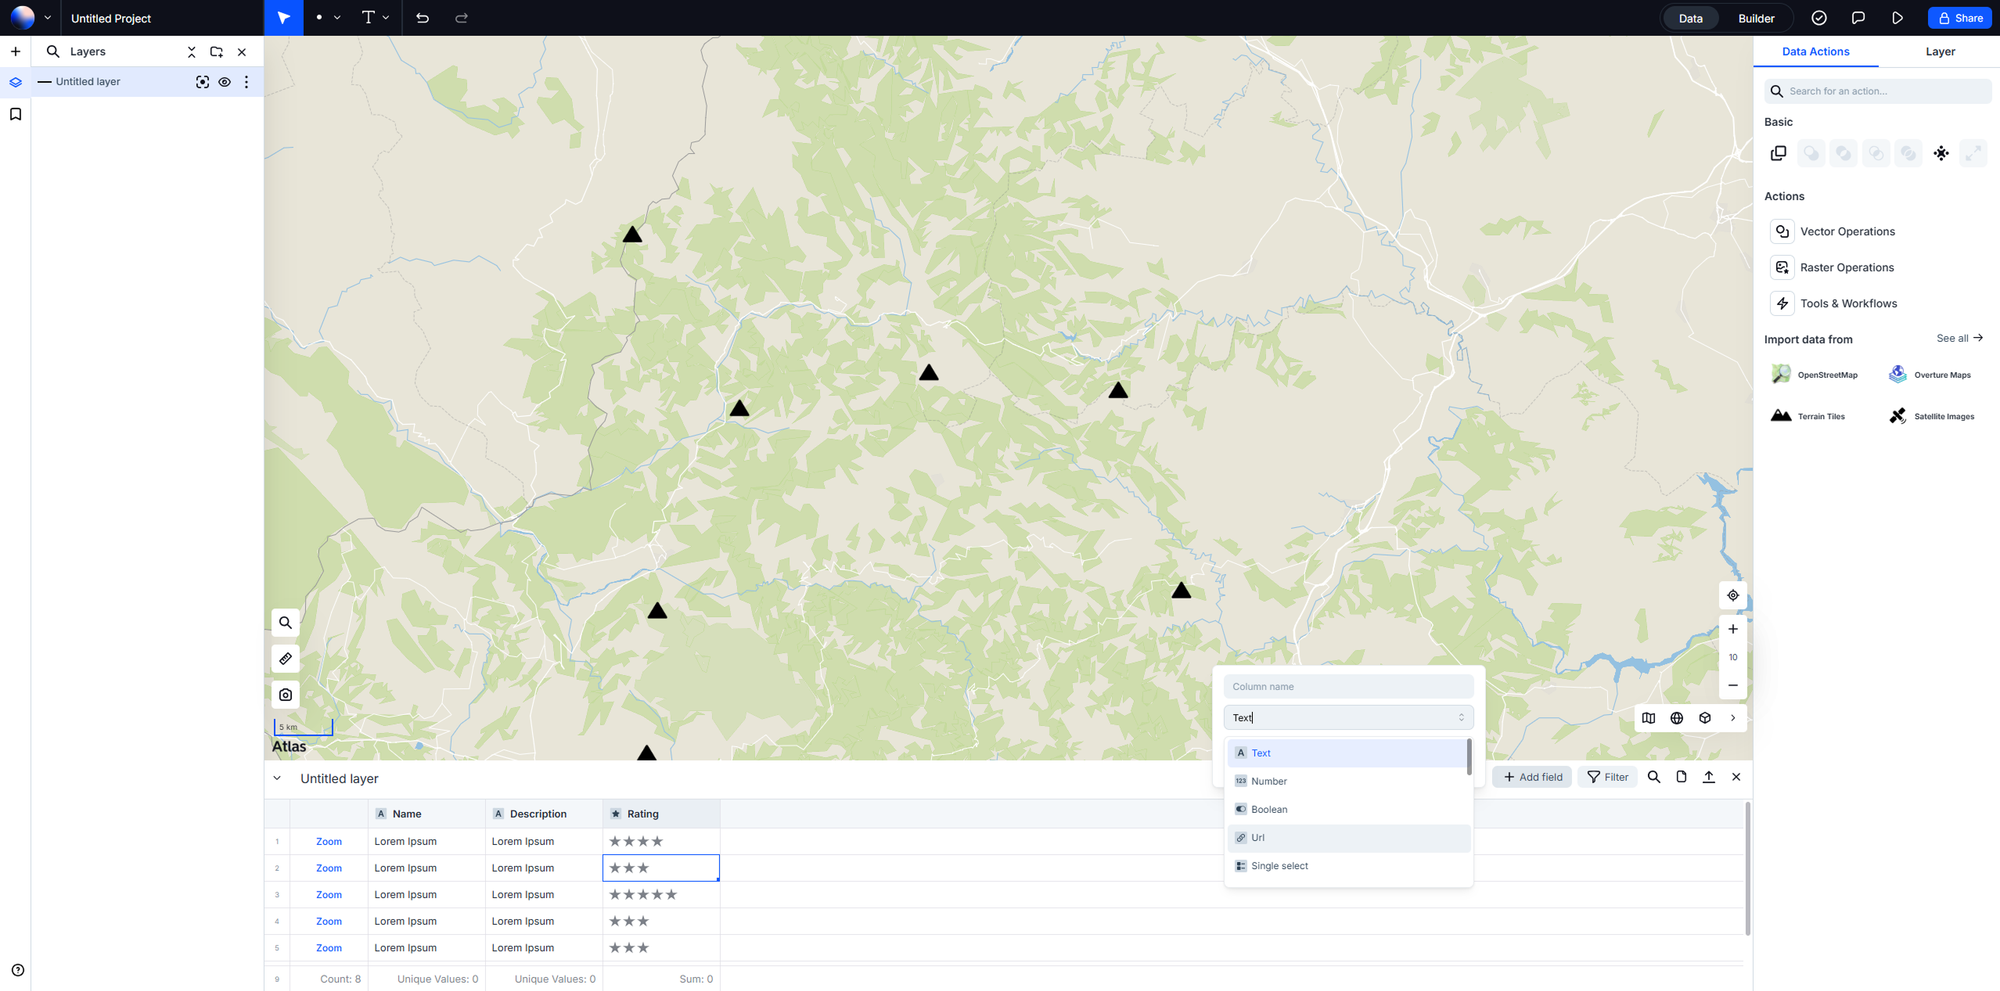
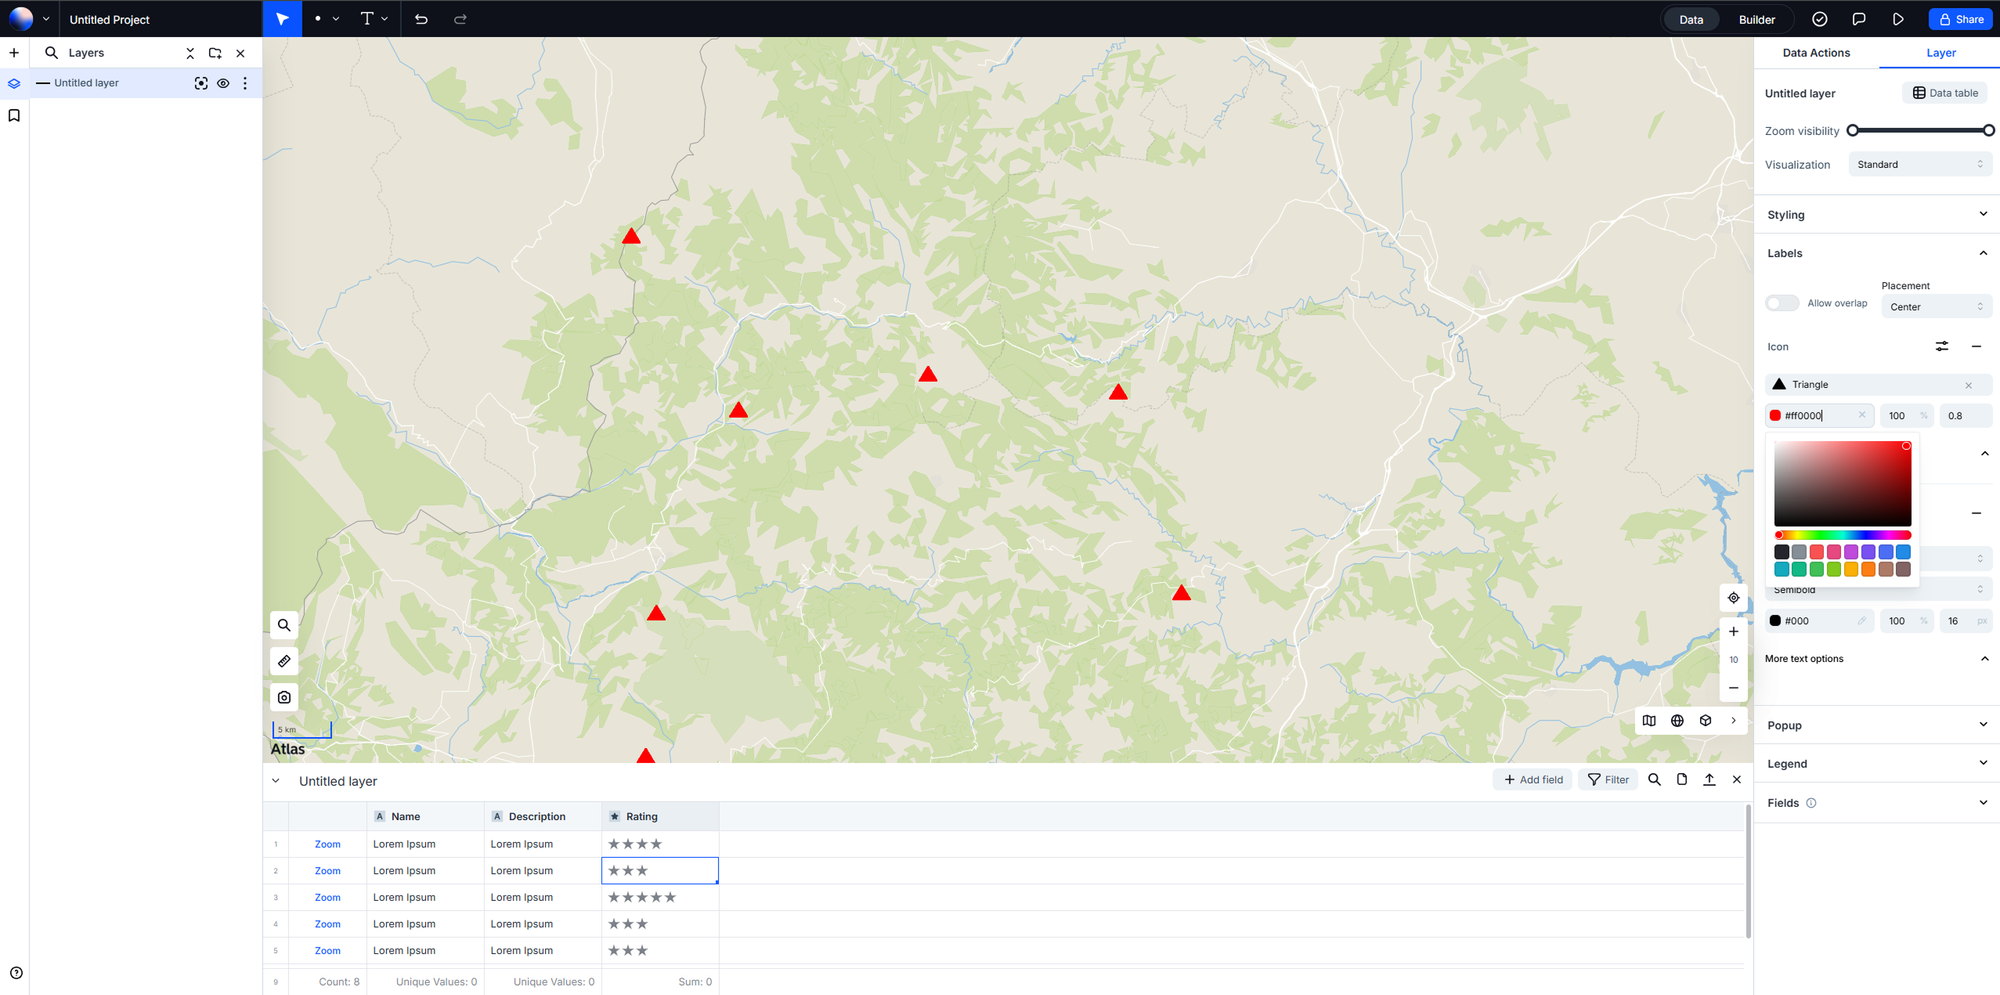
- Choose a color or icon to make it stand out.
You can add as many points as you need.
Drawing Routes and Paths
Need to map out a journey?
- Select the Route tool.
- Click on your starting point.
- Click along the route you want to draw.
- Adjust the path by dragging points.
- Save when you're happy with it.
This is great for road trips, delivery routes, or hiking trails.
Customizing Your Map
Make it your own with these options:
- Change the map style (satellite, terrain, dark mode, etc.).
- Group pins into categories.
- Share with others or keep it private.
- Export your map as a file.
Accessing Your Maps Anytime
Your saved maps can be found under "Projects" in Atlas.
From here, you can edit, share, or download them whenever you want.
Start mapping now and create your perfect custom map with Atlas!