
Importing CSV files into Google Earth Pro is a powerful way to visualize spreadsheet data on a map. Whether you're mapping store locations, survey points, or customer addresses, CSV files make it easy to organize and display location data using latitude and longitude coordinates.
In this guide, we’ll show you step-by-step how to prepare and import CSV files into Google Earth Pro. We’ll also address common errors and provide tips to make your mapping process seamless.
What is a CSV File?
A CSV (Comma Separated Values) file is a simple spreadsheet format that stores tabular data. Each row represents a data point, and columns are separated by commas. For Google Earth Pro, your CSV file must include at least:
- Latitude (Y-coordinate)
- Longitude (X-coordinate)
Optionally, you can include fields like names, descriptions, or other attributes for each point.
Step-by-Step Guide: Importing CSV Files into Google Earth Pro
Follow these steps to import your CSV file and display your location data on Google Earth Pro:
1. Prepare Your CSV File
- Open your spreadsheet program (Excel, Google Sheets, or similar).
- Ensure your file contains at least these columns:
- Latitude: Numeric values between -90 and 90.
- Longitude: Numeric values between -180 and 180.
- Name (optional): A label for each point.
- Description (optional): Additional details about the location.
Example CSV Structure:
| Name | Latitude | Longitude | Description |
|---|---|---|---|
| Store A | 40.748817 | -73.985428 | New York Branch |
| Store B | 34.052235 | -118.243683 | Los Angeles Branch |
- Save your file as CSV format (
filename.csv).
Tip: Avoid any special characters or empty rows, as they can cause errors during import.
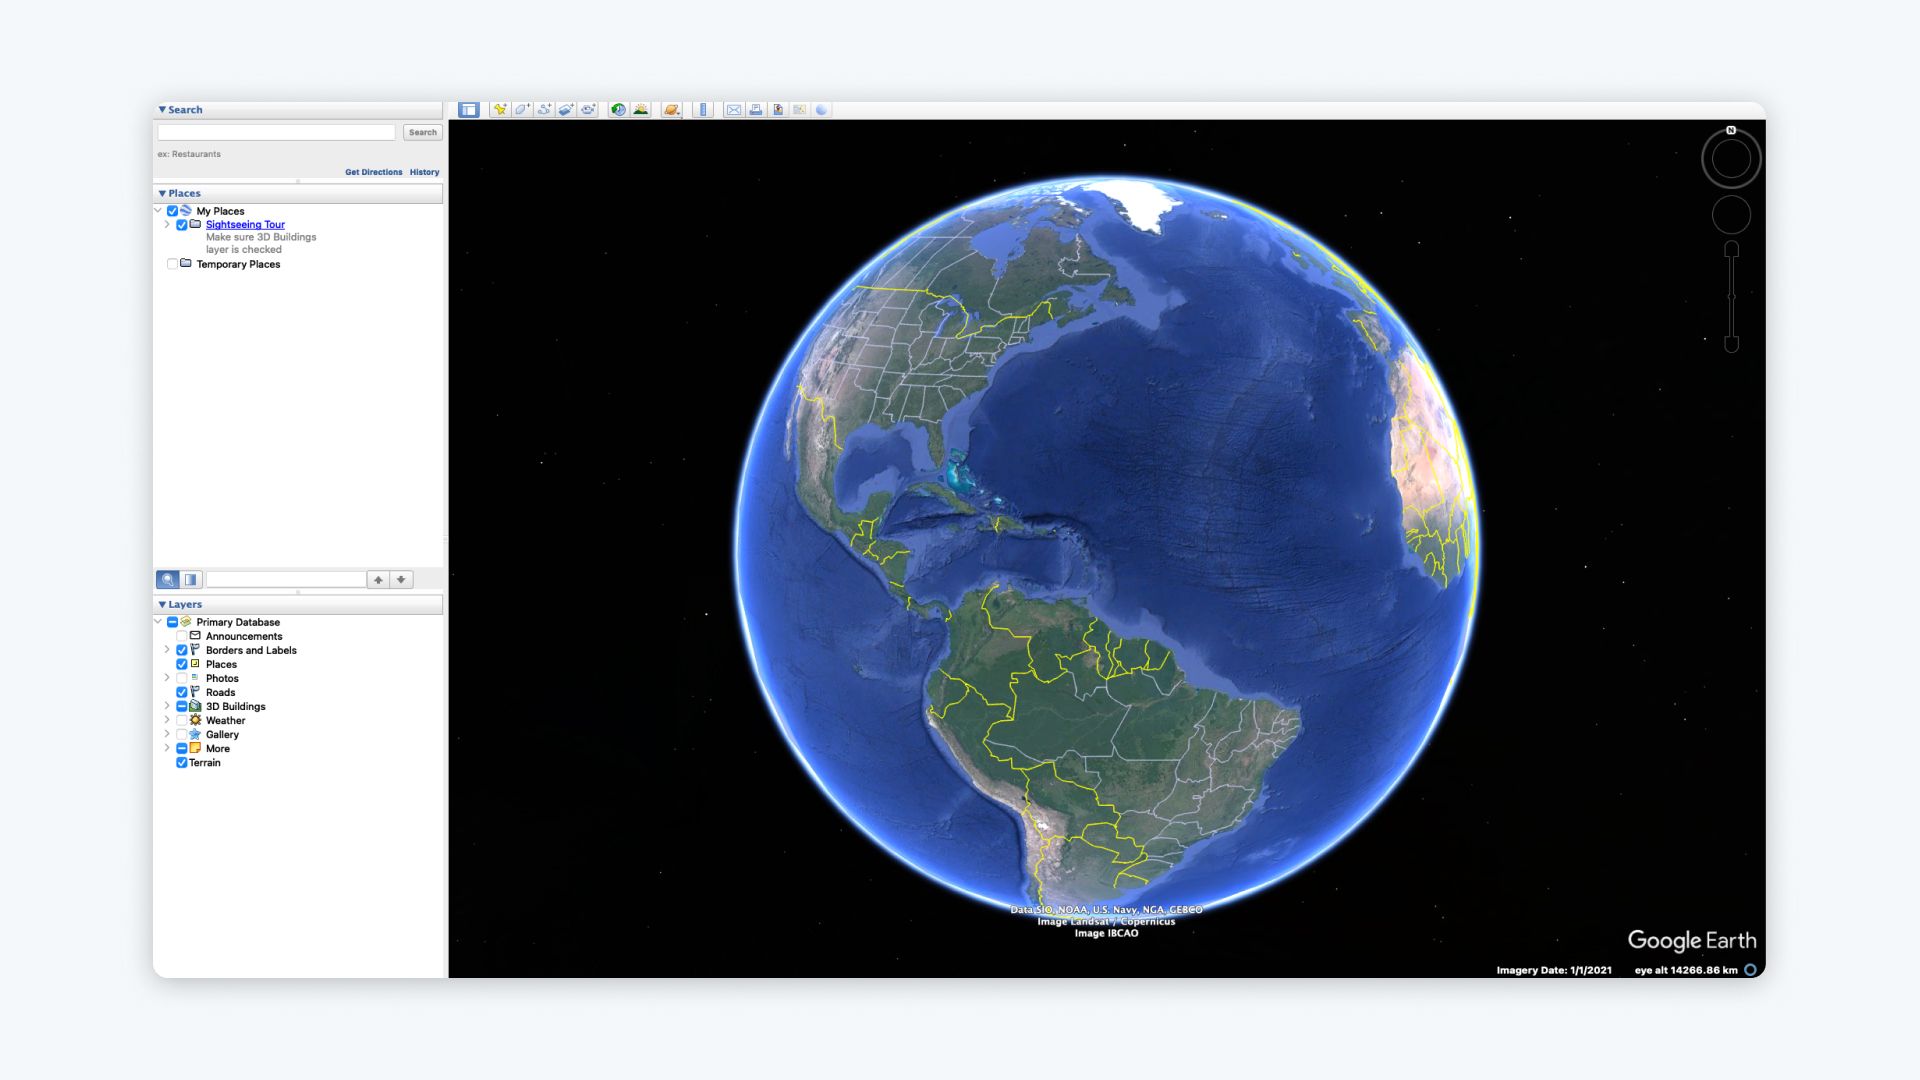
2. Open Google Earth Pro
- Download and install Google Earth Pro if you haven’t already.
- Launch the application on your desktop.
3. Import the CSV File
- Go to the File menu at the top of the screen.
- Select Import from the dropdown menu.
- Locate and open your CSV file.
Google Earth Pro will prompt you to confirm that your file contains field delimiters (commas). Click Yes to proceed.
4. Map the Data Fields
After selecting your CSV file, a dialog box will appear to match your data fields:
- Latitude: Select the column containing latitude values.
- Longitude: Select the column containing longitude values.
- Name (optional): Choose the column to label your points.
Click OK once you’ve mapped the fields.
5. Adjust Style and Templates
Google Earth Pro will now display your points on the map. To enhance their appearance:
- Right-click your imported data in the Places panel.
- Select Properties to customize:
- Icon style: Change point icons and colors.
- Labels: Display names or descriptions.
- Balloon Content: Add pop-ups with more details about each point.
6. Save Your Map
To save your imported points for future use:
- Go to File > Save Place As.
- Save the data as a KML or KMZ file.
You can now reload your map anytime or share it with others.
Common Errors When Importing CSV Files (and How to Fix Them)
-
“No Data Found” Error:
- Ensure your CSV file is properly formatted with the correct latitude and longitude columns.
- Remove any blank rows or columns.
-
“Invalid Coordinates” Error:
- Check that latitude values are between -90 and 90, and longitude values are between -180 and 180.
- Use numeric values only—avoid text in the latitude/longitude fields.
-
Special Character Issues:
- Avoid using special characters (*!@#$%) or non-standard symbols in column headers or data fields.
-
File Encoding Problems:
- Save your CSV with UTF-8 encoding to ensure compatibility.
Why Use CSV Files in Google Earth Pro?
CSV files are widely used because they:
- Are easy to create and edit in any spreadsheet software.
- Allow you to map large datasets with location coordinates.
- Enable sharing and collaboration across platforms.
Common use cases include:
- Business Analysis: Mapping store locations or customer distribution.
- Field Surveys: Visualizing survey points from collected GPS data.
- Research: Displaying geographic data like species sightings or population centers.
Need More Flexibility? Try Atlas for Collaborative Mapping
While Google Earth Pro is great for visualizing CSV data, it has limitations for teams or users needing advanced tools. That’s where Atlas comes in:
Why Choose Atlas?
- Easy Import: Drag and drop CSV, Excel, or other formats directly into Atlas.
- Real-Time Collaboration: Work on maps together with teammates.
- Custom Styling: Customize icons, labels, and pop-ups with ease.
- Interactive Maps: Share interactive, web-based maps with a simple link.
Atlas makes working with spatial data simpler and more collaborative, all within your browser.
Final Thoughts
Importing CSV files into Google Earth Pro is a straightforward way to visualize location data and create meaningful maps. By preparing your data properly and following these steps, you can map everything from store locations to field survey points.
If you’re looking for more advanced options, including real-time collaboration and custom styling, explore tools like Atlas. With its user-friendly interface and powerful features, Atlas helps you create maps that tell stories and drive decisions.
Get started with Atlas today—import your CSV and bring your data to life!