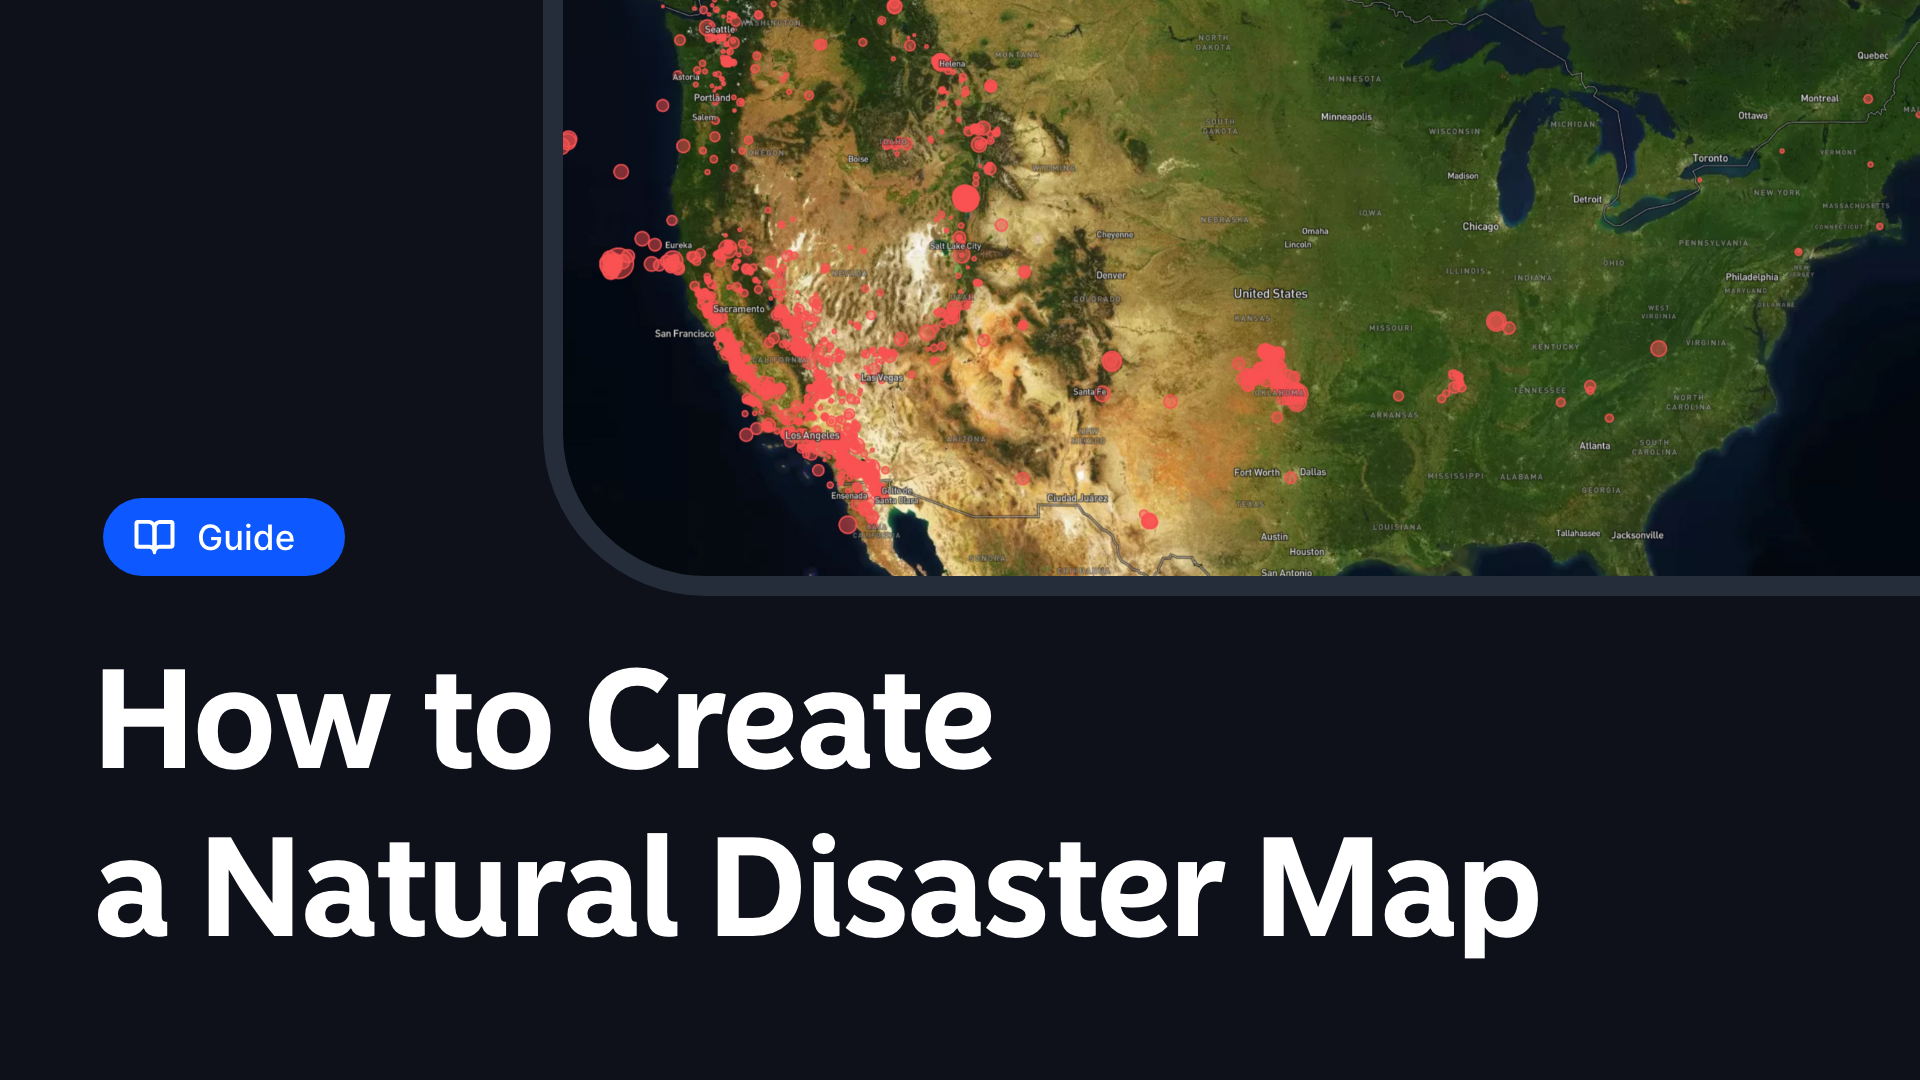
Creating a natural disaster map is crucial for preparedness and response. It helps visualize data and make informed decisions. Here's a step-by-step guide on how to create one using Atlas, a browser-based GIS platform.
Understanding the Basics
Before diving into the process, let's understand what a natural disaster map is. It displays locations affected by natural disasters like earthquakes, floods, hurricanes, and wildfires. These maps can show current situations or historical data to help predict future events.
Gathering Data
Data is essential for creating an accurate map. You need reliable sources. Here are some sources for natural disaster data:
- US Geological Survey (USGS): For earthquake data.
- National Oceanic and Atmospheric Administration (NOAA): For weather-related data like hurricanes and floods.
- NASA’s Fire Information for Resource Management System (FIRMS): For wildfire data.
- International Federation of Red Cross and Red Crescent Societies (IFRC): For global disaster data.
Creating the Map
Now, let's create the map.
1. Choose a Basemap
Start by selecting a basemap. This is the underlying map on which your data will be displayed. Atlas offers various options like satellite imagery, street maps, and different colors.
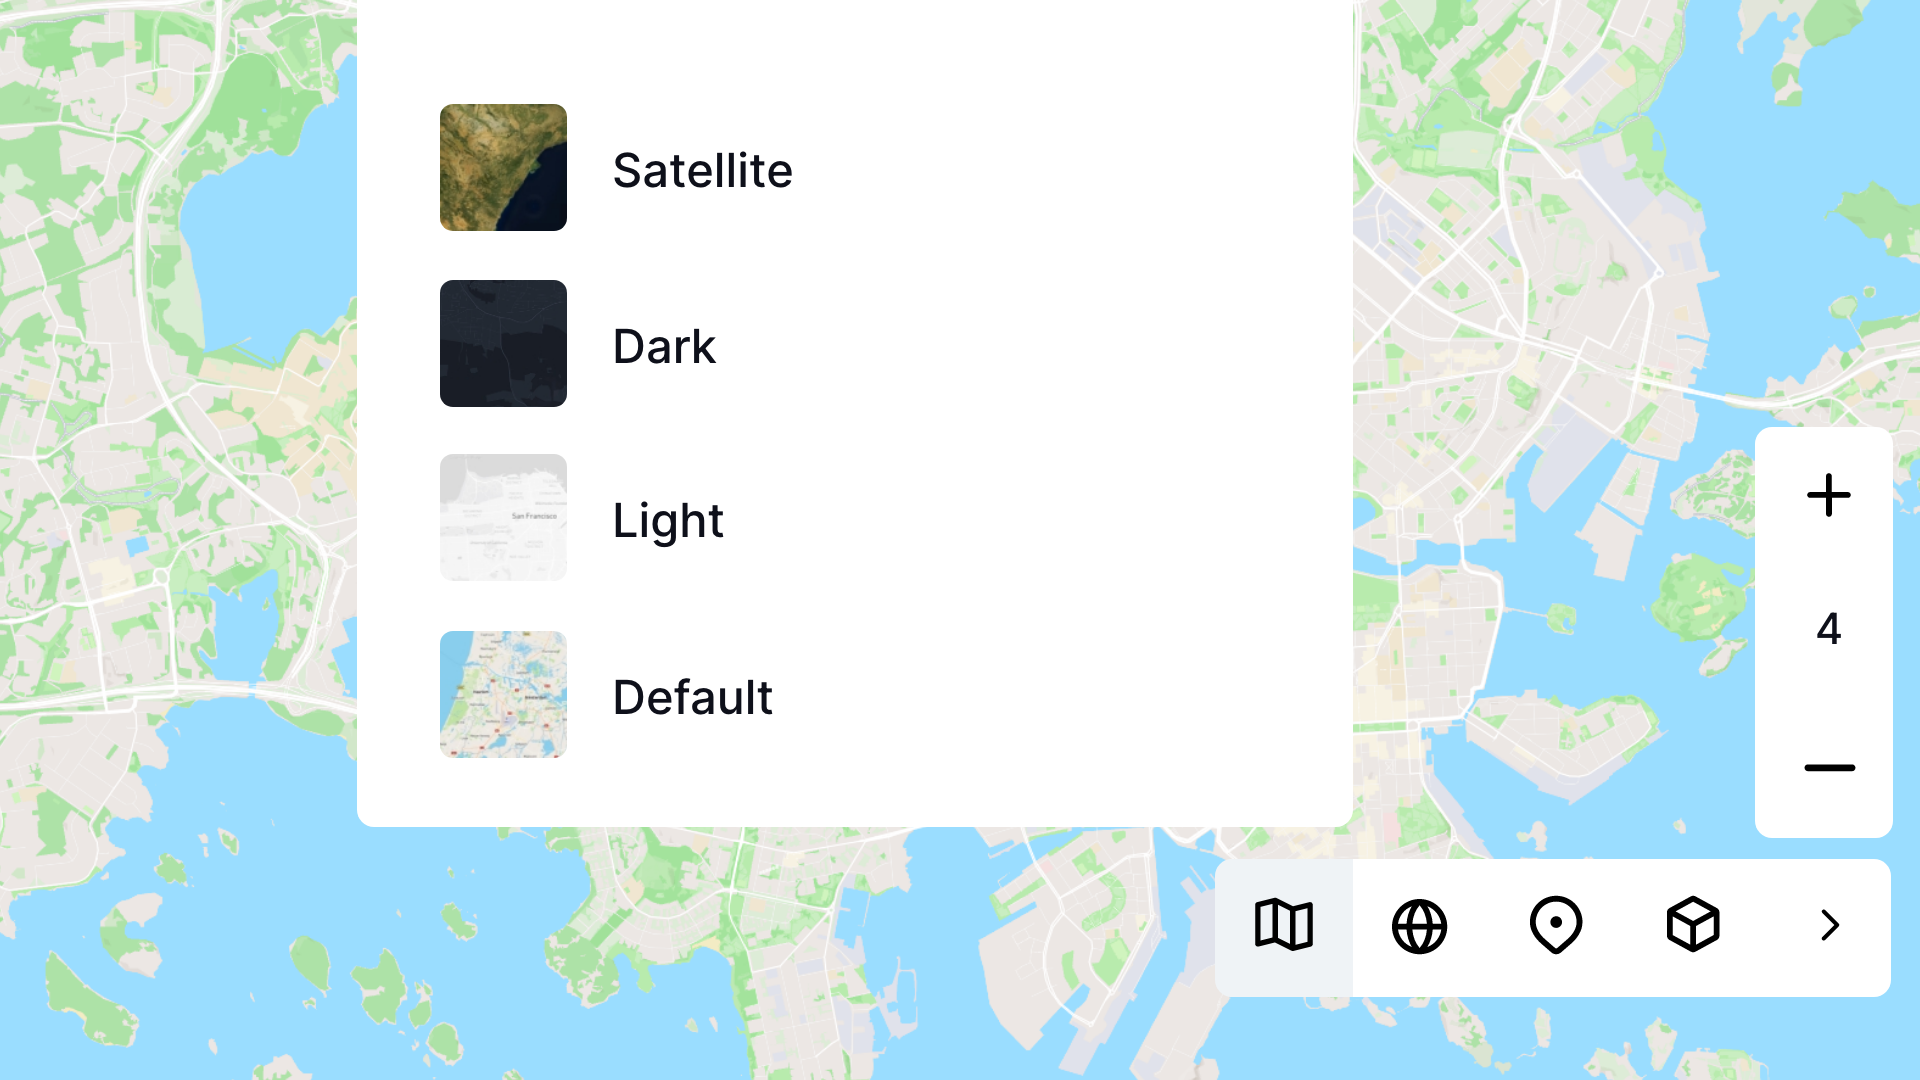
- Open Atlas: Go to the map controls
- Select Basemap: Choose a base map that suits your needs. For natural disasters, a satellite is often helpful
2. Add Data Layers
Next, add your data layers. These layers will represent different types of natural disasters.
- Add Layer: Click on the 'Add Layer' button.
- Upload Data: Upload the data you previously imported. For example, if you have earthquake data from USGS, upload that file.
- Customize Layer: Customize the appearance of the layer. You can change colors, symbols, and opacity. In this example, I style the circle radius to be based on the magnitude of the earthquake
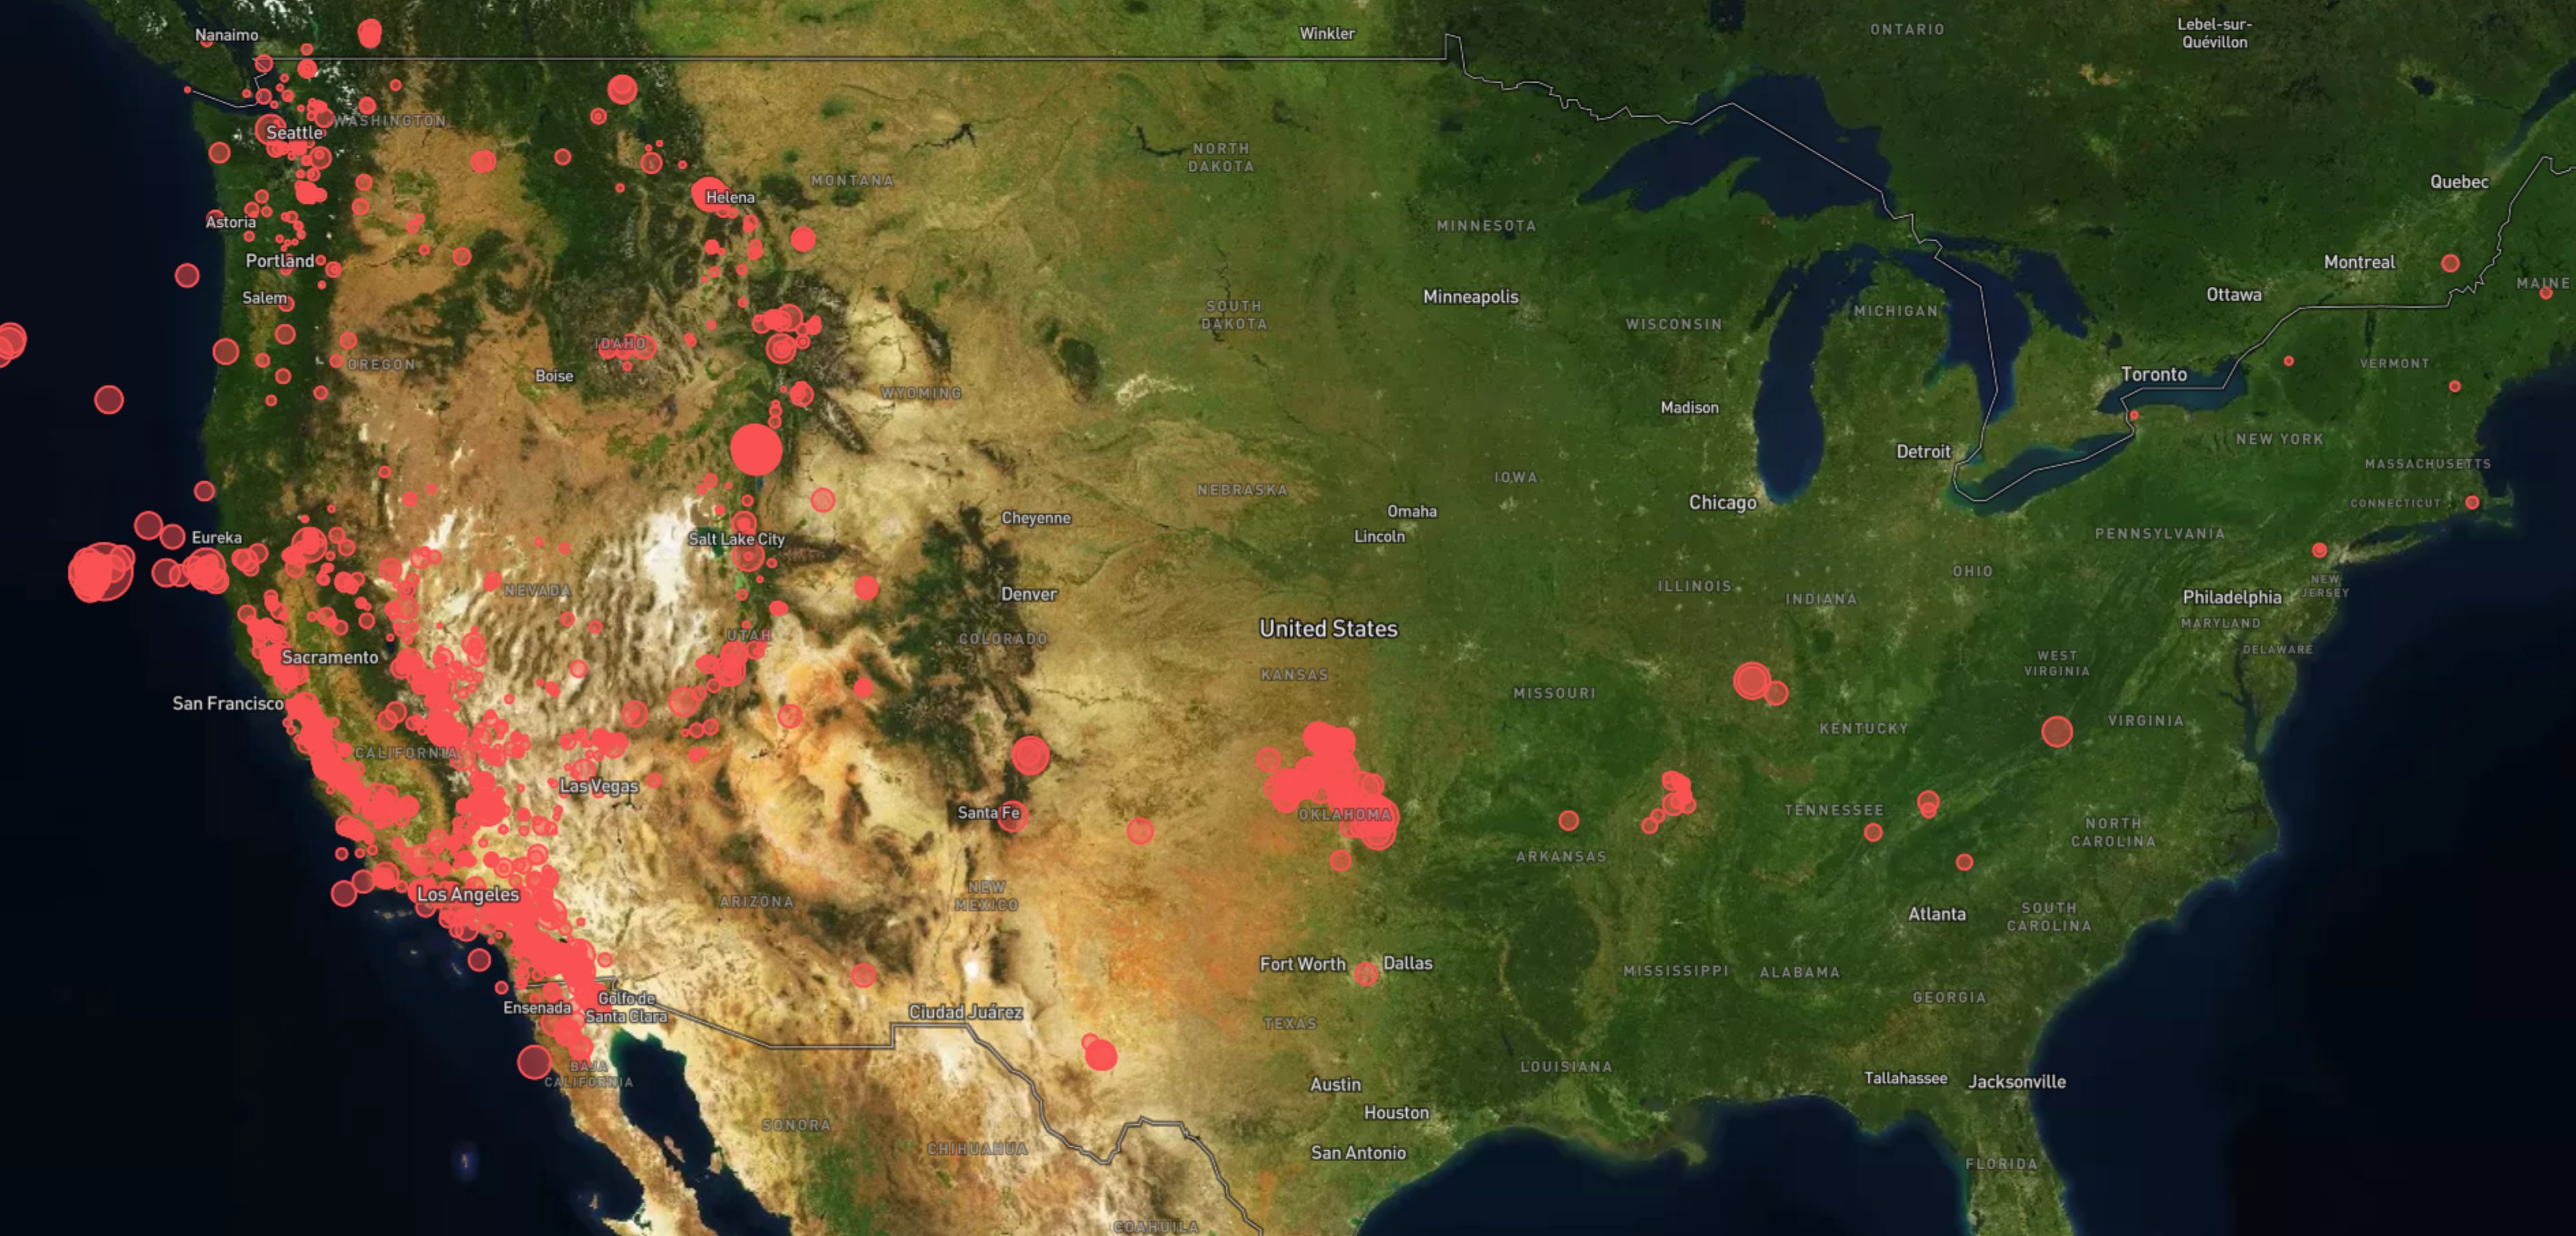
Repeat this process for each type of natural disaster data you have.
3. Adjust How the Map is Displayed
To make your map user-friendly, adjust the settings.
- Customize the Legend: Create a legend that explains the symbols and colors used in your map
- Add Labels: Label important locations, like cities or disaster epicenters
Analyzing the Map
Once your map is ready, you can analyze the data. Look for patterns and correlations.
- Identify Hotspots: See if there are areas that experience frequent natural disasters
- Assess Impact: Determine the potential impact on populated areas
- Plan Response: Use the map to plan disaster response and mitigation strategies
Sharing the Map
Sharing your map is important for collaboration and action.

- Export Map: Export your map in a shareable format. Atlas allows you to export maps as images, PDFs, or shareable links
- Collaborate: Share the map with your team or stakeholders. You can also embed it on a website or in a report
Keeping Your Map Updated
Natural disaster data is always changing. Keep your map updated.
- Regular Updates: Set a schedule for regular data updates. This could be daily, weekly, or monthly.
- Automated Feeds: If possible, set up automated data feeds. Some sources offer APIs that can feed data directly into Atlas.
Practical Tips
Here are some practical tips to enhance your natural disaster map:
- Use Multiple Data Sources: Combine data from various sources for a comprehensive view.
- Interactive Elements: Add interactive elements like clickable icons or pop-up information boxes.
- User Feedback: Gather feedback from users to improve the map’s usability and accuracy.
Real-World Applications
Creating natural disaster maps can have real-world applications. Governments can use them for planning and response. NGOs can use them for relief efforts. Businesses can use them to assess risks and plan operations.
In a community setting, these maps can raise awareness and prepare residents for potential disasters.
Conclusion
Creating a natural disaster map with Atlas is straightforward. It involves gathering data, importing it into Atlas, creating the map, and keeping it updated. These maps are powerful tools for disaster preparedness and response.
By following these steps, you can create a map that helps save lives and minimize damage during natural disasters.
Get started with Atlas today and make a difference in your community.