Learn How This Was Made
This map showcases how you can use the Atlas Application to download DEM files for your project and evaluate the slope of a location.
Step 1: Draw or upload your area of interest
In this guide, I will analyze the slope for a site near Nairobi, Kenya.
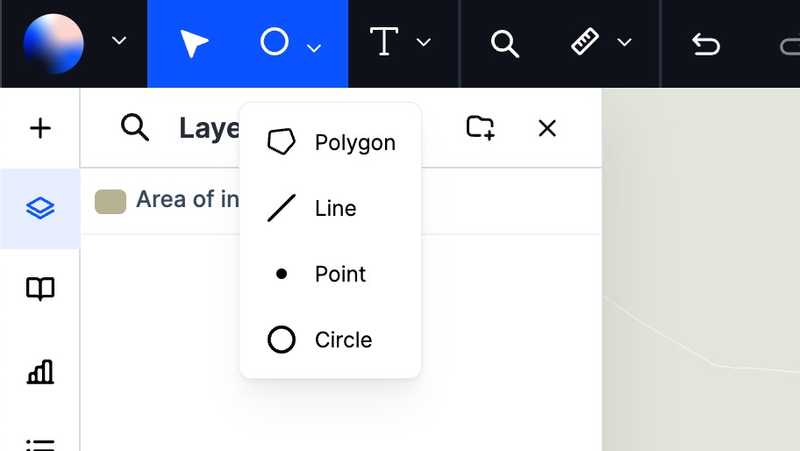
I chose to create my area of interest (AOI) by drawing a circle using the tools in the top left corner. Feel free to use any polygon at any place in the world.
Note: You may also upload any types of geodata to the application (we support most vector formats).
Step 2: Download the DEM file for the area of interest
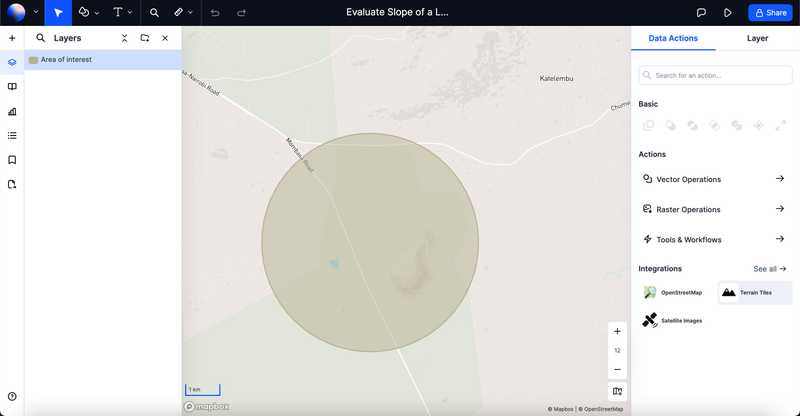
First, I need access to a Digital Elevation Model (DEM), which can be used to calculate elements such as slope, contours, and more. In Atlas, we have an integration for extracting DEM files from Joerd.
You can import DEM files directly using this integration. I select the integration by either searching for "Terrain tiles" in the search bar or by clicking the shortcut for the integration as shown in the picture.
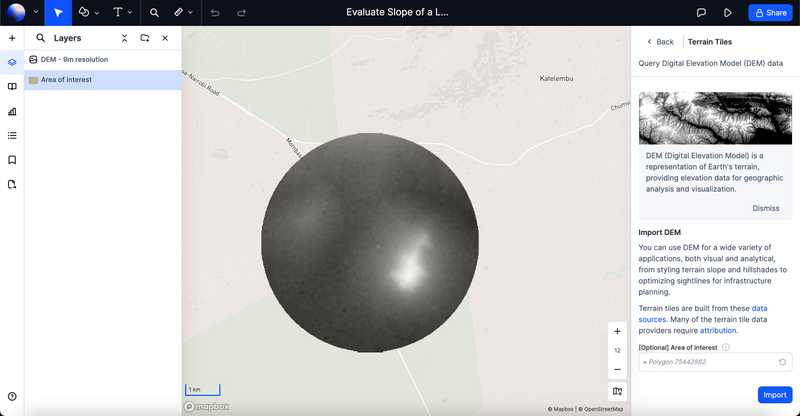
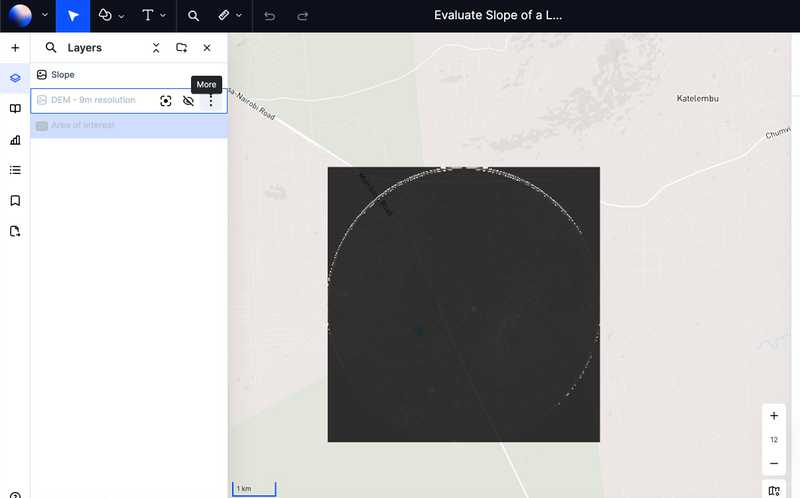
In the integration, all I have to do is select the "Area of interest" and click import.
Now I have a DEM file for the area of interest, in this case we have a 9m horizontal resolution (The resolution is given in the layer name). The best resolution the integration can provide is 4 meters. The resolution is scaled depending on the size of the area of interest.
Step 3: Calculate the slope in percentage or degrees
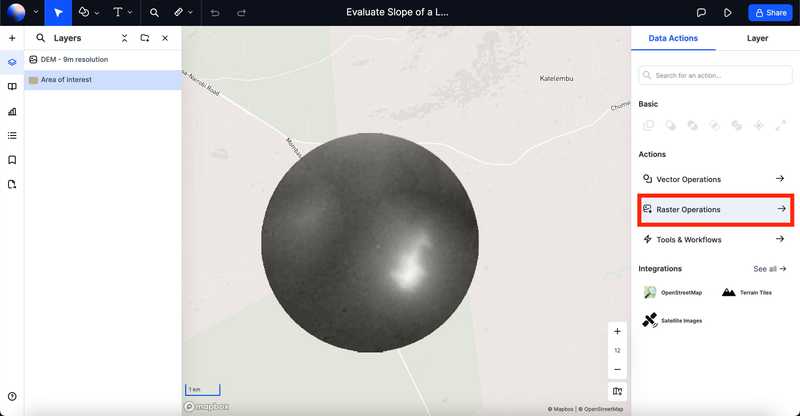
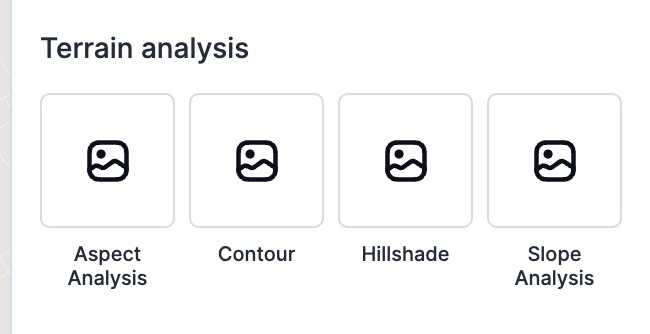
Now that we have a DEM file, we can easily conduct analyses such as slope analysis, aspect analysis, and more. To achieve this, you need to go to the raster operations.
Here we see a range of "Terrain Analysis" options, including Aspect Analysis, Contour, Hillshade, and Slope analysis. For this guide, I will use the slope analysis.
In the slope analysis, you need to select the DEM file we created previously and choose whether you want the result in percentage or degrees. After that, simply click "Run" and see the result being created.
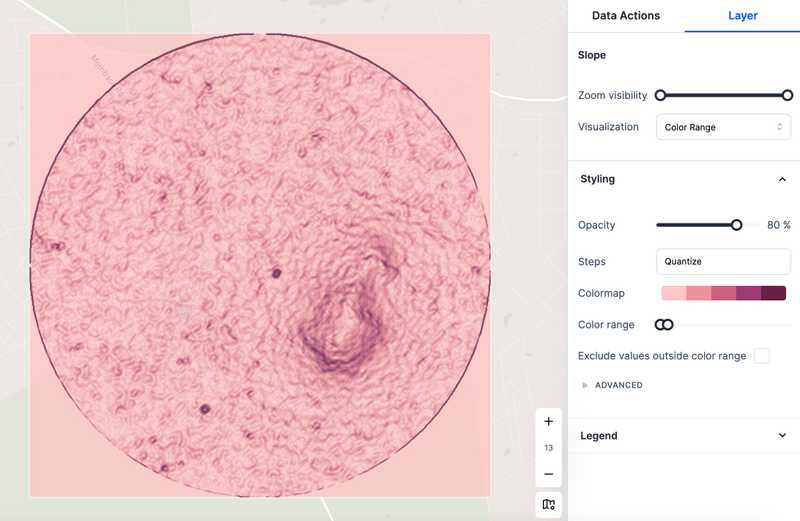
I want to style the result to make the colors more understandable, so I click the "Styling" option for the resulting layer (named "slope").
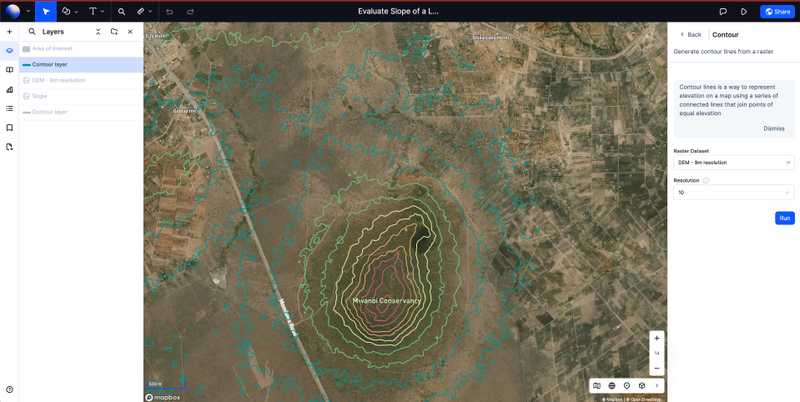
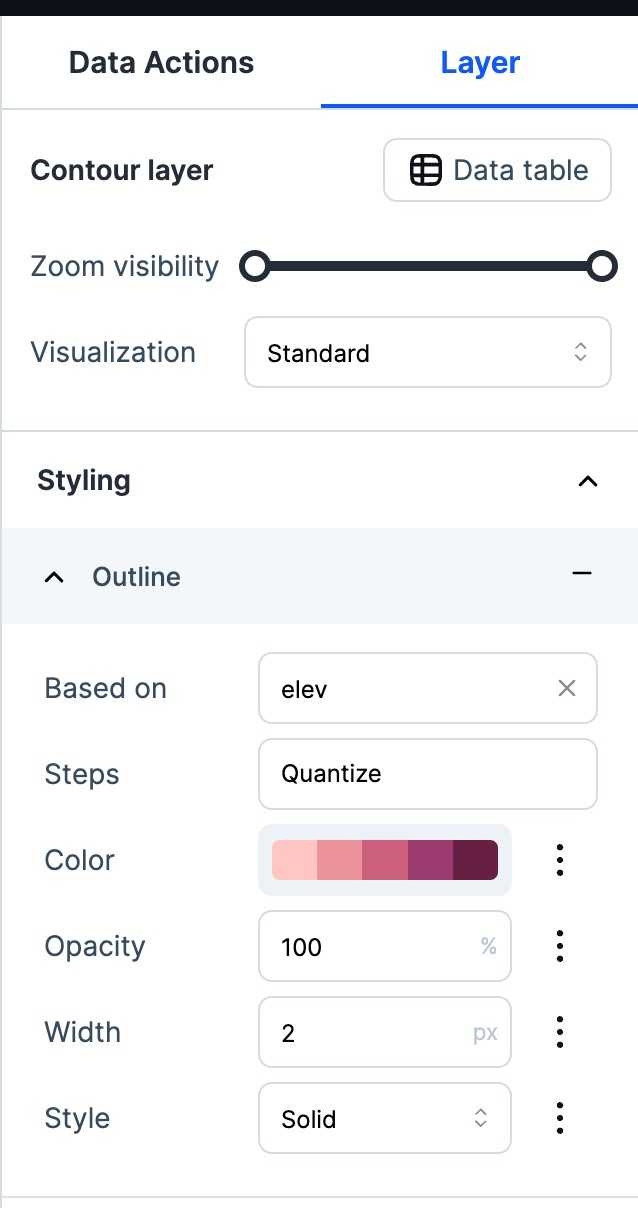
Step 4: Extract the contour lines
To extract contour lines, go back to the raster operations and select the "Contour" option. This tool allows you to generate contour lines from your DEM file, which can help you understand the terrain's elevation changes. After selecting the DEM file and setting the contour interval, click "Run" to create the contour lines.
You can further style the contour lines for better visualization by using the "Styling" option.
Step 5: (Optional) Get an overview of flat areas using the Advanced slope analysis
For a more detailed analysis, you can use the Advanced slope analysis to identify flat areas. This can be particularly useful for construction planning or agricultural purposes. In the raster operations, select "Advanced slope analysis" and adjust the parameters to highlight areas with minimal slope. Run the analysis and style the results as needed.

Conclusion
Using the Atlas Application, you can efficiently download DEM files, evaluate the slope, and extract contour lines to better understand the elevation of your area of interest. This guide walked you through the steps of drawing or uploading your area of interest, downloading a DEM file, calculating the slope, and extracting contour lines. Optional advanced analyses, like identifying flat areas, can provide additional insights for specific applications. Happy mapping!
Need more help?
Still have questions? We're here to help! Reach out to our support team at help@atlas.co and we'll get back to you as soon as possible.