Google Earth Pro isn’t just for exploring satellite imagery—it also allows you to overlay custom images or maps onto the globe. This feature is incredibly useful for projects like historical map comparisons, custom annotations, or even educational visuals. Whether you’re overlaying a scanned map or an aerial photograph, the process is straightforward with Google Earth Pro’s tools.
In this guide, we’ll explain how to overlay images and maps on Google Earth Pro, troubleshoot common issues, and provide tips for aligning your overlays accurately.
What Are Image Overlays in Google Earth Pro?
An image overlay in Google Earth Pro is a way to superimpose a custom image (such as a scanned map or diagram) onto the globe. This is especially useful when you want to:
- Compare historical maps with current satellite imagery.
- Add custom visuals, like diagrams or route maps.
- Annotate or highlight specific regions for presentations or analysis.
Google Earth Pro supports various image formats, including JPG, PNG, BMP, and GIF. Once added, overlays can be adjusted for size, location, and transparency to align perfectly with the Earth’s surface.
Step-by-Step Guide: Adding an Image Overlay
Follow these steps to overlay your image or map onto Google Earth Pro:
1. Prepare Your Image
- Ensure your image is in one of the supported formats: JPG, PNG, BMP, or GIF.
- Use a high-resolution image for better clarity when zooming in.
Tip: If your image is a scanned map, crop out unnecessary borders to make alignment easier.
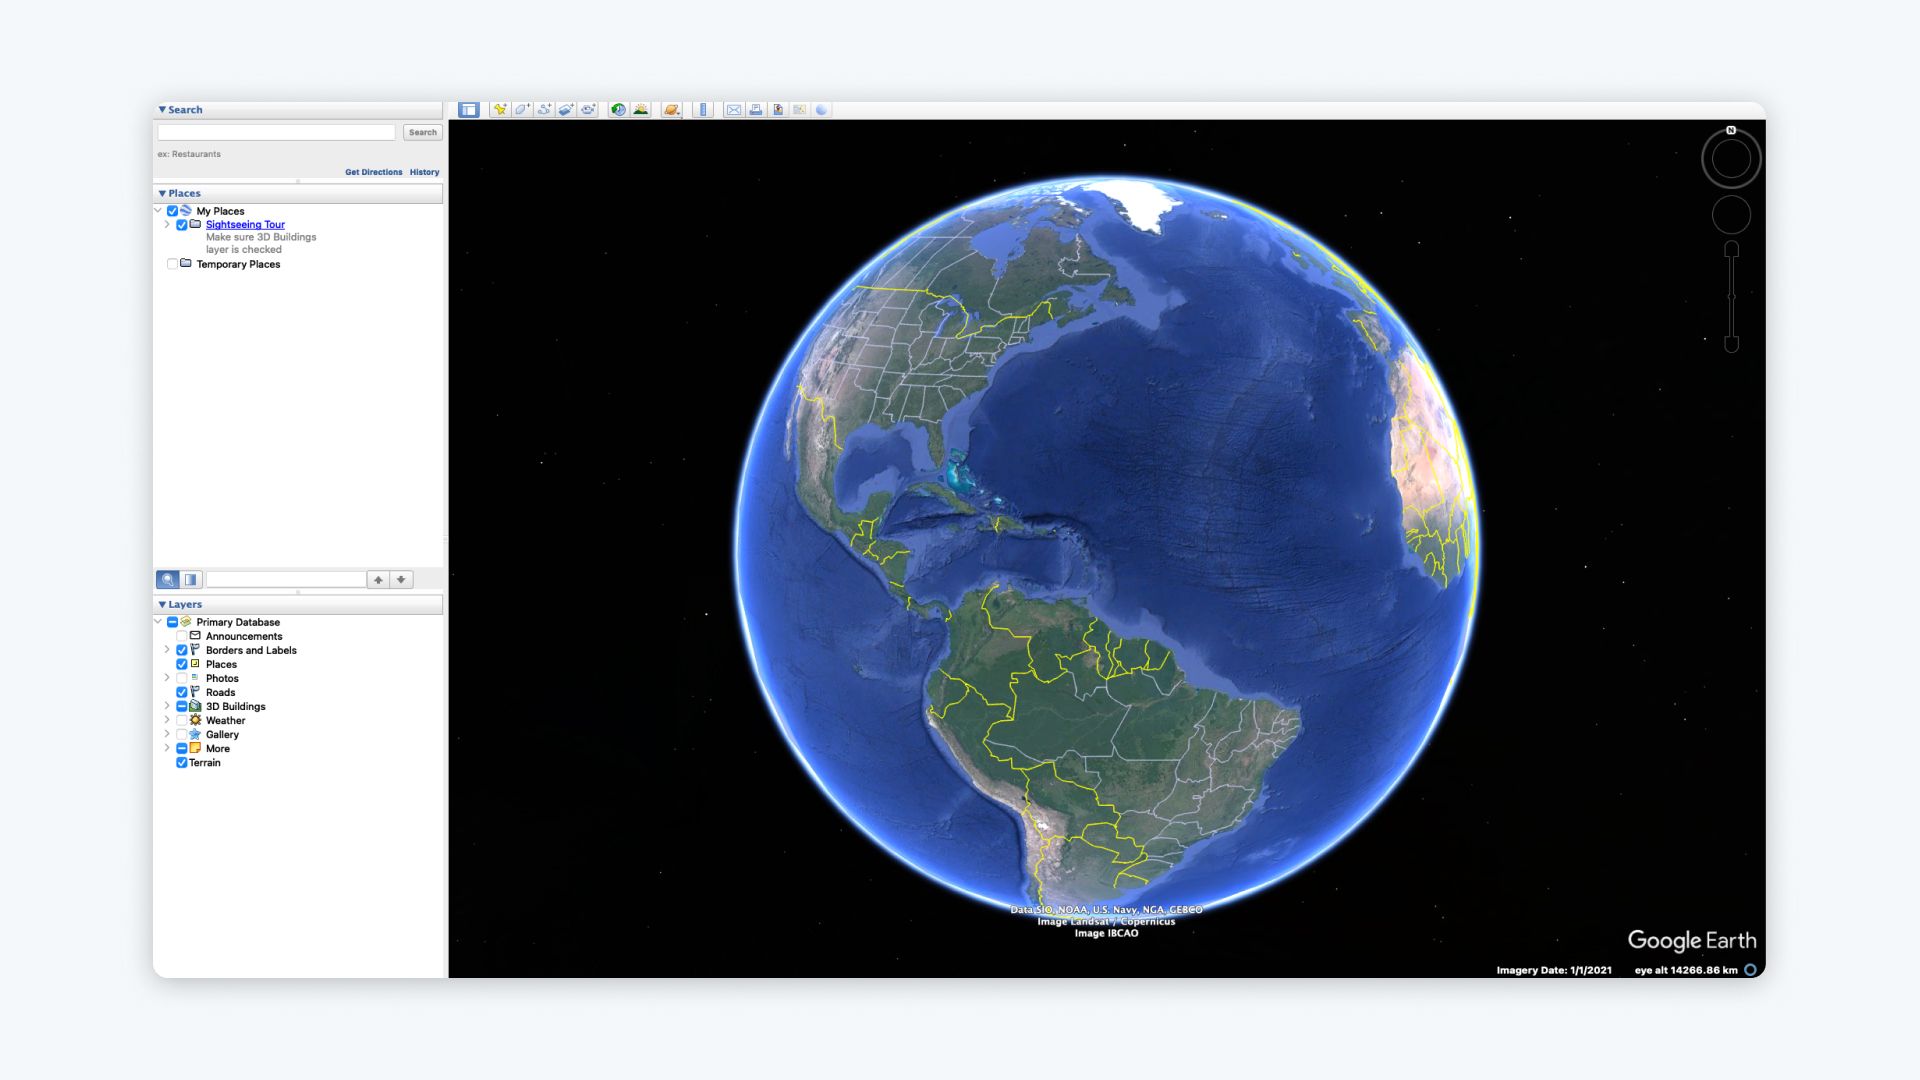
2. Open Google Earth Pro
- Download and install Google Earth Pro if you haven’t already.
- Launch the application on your desktop.
3. Add an Image Overlay
- In Google Earth Pro, click the Add menu at the top.
- Select Image Overlay from the dropdown.
- A dialog box will appear. Give your overlay a name (e.g., "Historical Map 1920").
- Click the Browse button to locate and upload your image file.
4. Adjust and Align the Overlay
Once your image appears on the globe:
- Drag and Resize: Use the green handles to move and resize the overlay.
- Adjust Transparency: Use the Transparency Slider in the dialog box to make the image semi-transparent, allowing you to see the underlying satellite imagery for alignment.
- Rotate and Skew: Use the green crosshairs to rotate or tilt the image for precise alignment with Earth’s features.
5. Save Your Overlay
- Once aligned, click OK to save the overlay to the Places panel.
- Right-click your overlay in the Places panel and select Save Place As to export it as a KML/KMZ file for future use or sharing.
Tips for Perfect Image Alignment
| Alignment Tip | How to Implement |
|---|---|
| Use Landmarks for Reference | Match prominent features (e.g., rivers, mountains) on your image with Google Earth’s map. |
| Adjust Transparency | Make the overlay semi-transparent to better align it with satellite imagery beneath. |
| Crop Your Image | Remove unnecessary borders or whitespace for easier alignment. |
| Work in 3D View | Use the tilt feature in Google Earth Pro to align overlays on uneven terrain. |
| Revisit Historical Imagery | Use the time slider to compare your overlay with older satellite images. |
Troubleshooting Common Issues
1. Overlay Is Misaligned
- Ensure you’ve adjusted for scale and rotation during placement.
- Use landmarks for reference points.
2. Image Appears Distorted
- Check if your image has uneven proportions. Resizing it in an image editor before uploading can help.
3. Overlay Is Too Transparent or Opaque
- Adjust the transparency slider in the Image Overlay dialog box for better balance.
4. Overlay Doesn’t Save Correctly
- Save your overlay as a KML/KMZ file after placement to avoid losing your work.
Why Use Image Overlays in Google Earth Pro?
Image overlays are incredibly versatile and can be used for a variety of applications:
- Educational Projects: Compare historical maps with modern landscapes for geography or history lessons.
- Environmental Analysis: Overlay maps showing deforestation, water bodies, or wildlife habitats.
- Urban Planning: Visualize proposed building plans or zoning changes.
- Research: Analyze and annotate custom maps for presentations or publications.
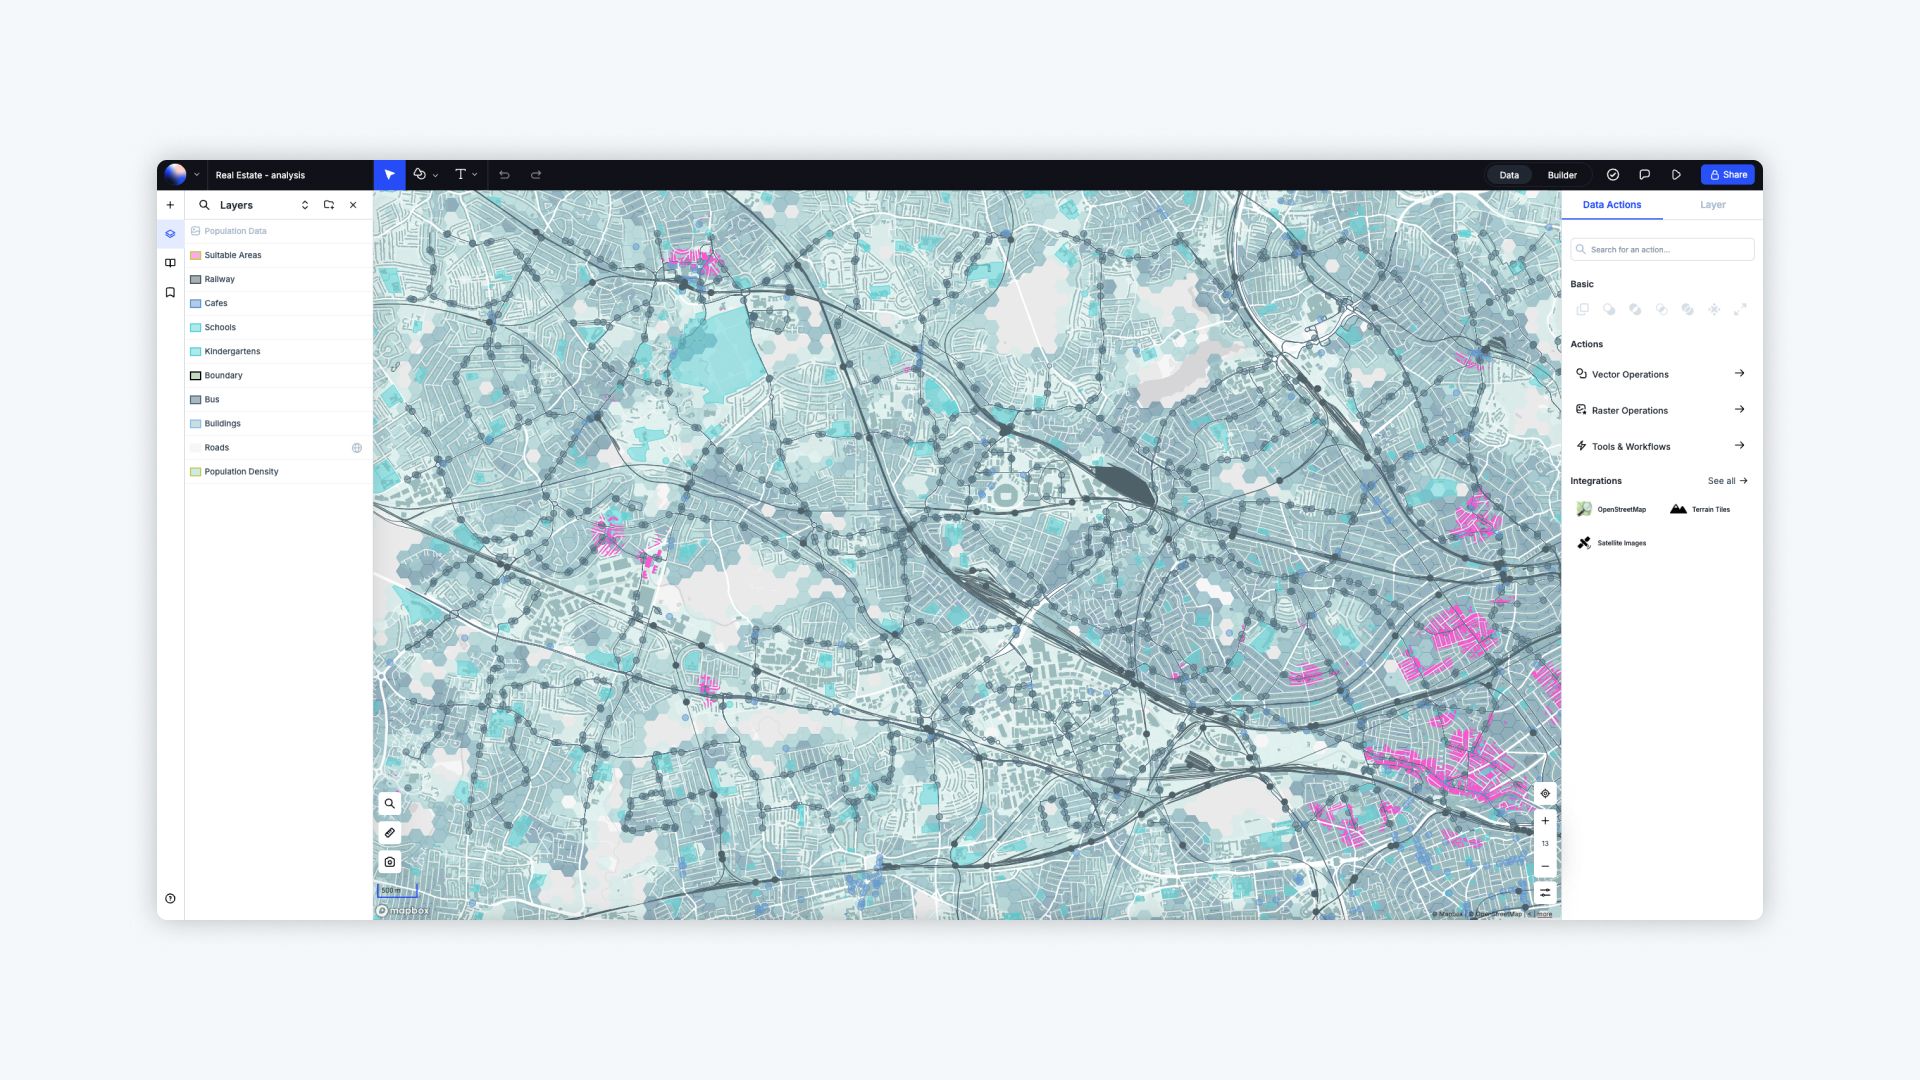
For More Flexibility, Try Atlas
While Google Earth Pro provides excellent tools for overlaying images, Atlas offers advanced features for teams and professionals needing more control and interactivity.
Why Choose Atlas for Overlays?
- Direct Overlay Tools: Upload and align images or raster files directly in your browser.
- Advanced Georeferencing: Easily match images to coordinates for precise overlays.
- Interactive Features: Add filters, labels, and legends to enhance your overlays.
- Real-Time Collaboration: Work with your team to refine overlays and annotations simultaneously.
- Browser-Based Platform: No installations required—just log in and get started.
Final Thoughts
Overlaying images and maps on Google Earth Pro is a simple yet powerful way to add context to your geographic data. Whether you’re working on historical projects, urban planning, or environmental analysis, this feature lets you bring custom visuals to life.
If you’re looking for even more flexibility, collaboration, and advanced tools, explore Atlas. Its browser-based platform makes image overlays and interactive mapping more intuitive than ever.
Ready to enhance your maps? Try Atlas to take your mapping to the next level!