GPX files are commonly used to store GPS data, including tracks, routes, and waypoints. If you’re looking to visualize this data on a map, Google Earth Pro is a great tool to display GPX files and bring your routes or points to life. Whether you’re analyzing hiking trails, drone flight paths, or field survey data, Google Earth Pro makes it simple.
In this guide, we’ll walk you through the process of importing and displaying GPX files in Google Earth Pro, provide tips to optimize the experience, and troubleshoot common issues.
What is a GPX File?
A GPX (GPS Exchange Format) file is a standard XML format used to store geographic data from GPS devices. GPX files can include:
- Waypoints: Individual locations with latitude, longitude, and optional descriptions.
- Routes: Planned paths that include sequential waypoints.
- Tracks: Recorded movement paths showing where someone or something has traveled.
These files are widely supported by GPS devices, mapping software, and outdoor activity apps, making them ideal for sharing and analyzing location data.
Step-by-Step Guide: Importing GPX Files into Google Earth Pro
Follow these simple steps to import your GPX files and display them on Google Earth Pro:
1. Prepare Your GPX File
- Ensure your GPX file is correctly formatted. It should contain valid latitude and longitude coordinates.
- If you’ve exported the file from a GPS device or app, double-check that it includes tracks, routes, or waypoints.
2. Open Google Earth Pro
- Download and install Google Earth Pro if you haven’t already.
- Launch the application on your desktop.
3. Import Your GPX File
- In Google Earth Pro, go to the File menu at the top of the screen.
- Select Open or Import.
- In the file browser, change the file type to "GPS (.gpx, .loc)" in the dropdown menu.
- Locate and select your GPX file, then click Open.
A window will appear prompting you to confirm what type of data to import.
4. Select Data to Import
In the GPS Data Import window, you can choose what to display:
- Tracks: Visualize paths recorded during movement (e.g., hikes, bike rides, or flights).
- Routes: Import pre-planned paths.
- Waypoints: Display points of interest, such as landmarks or checkpoints.
Check the boxes for the data types you want to import, then click OK.

5. View Your GPX Data in Google Earth Pro
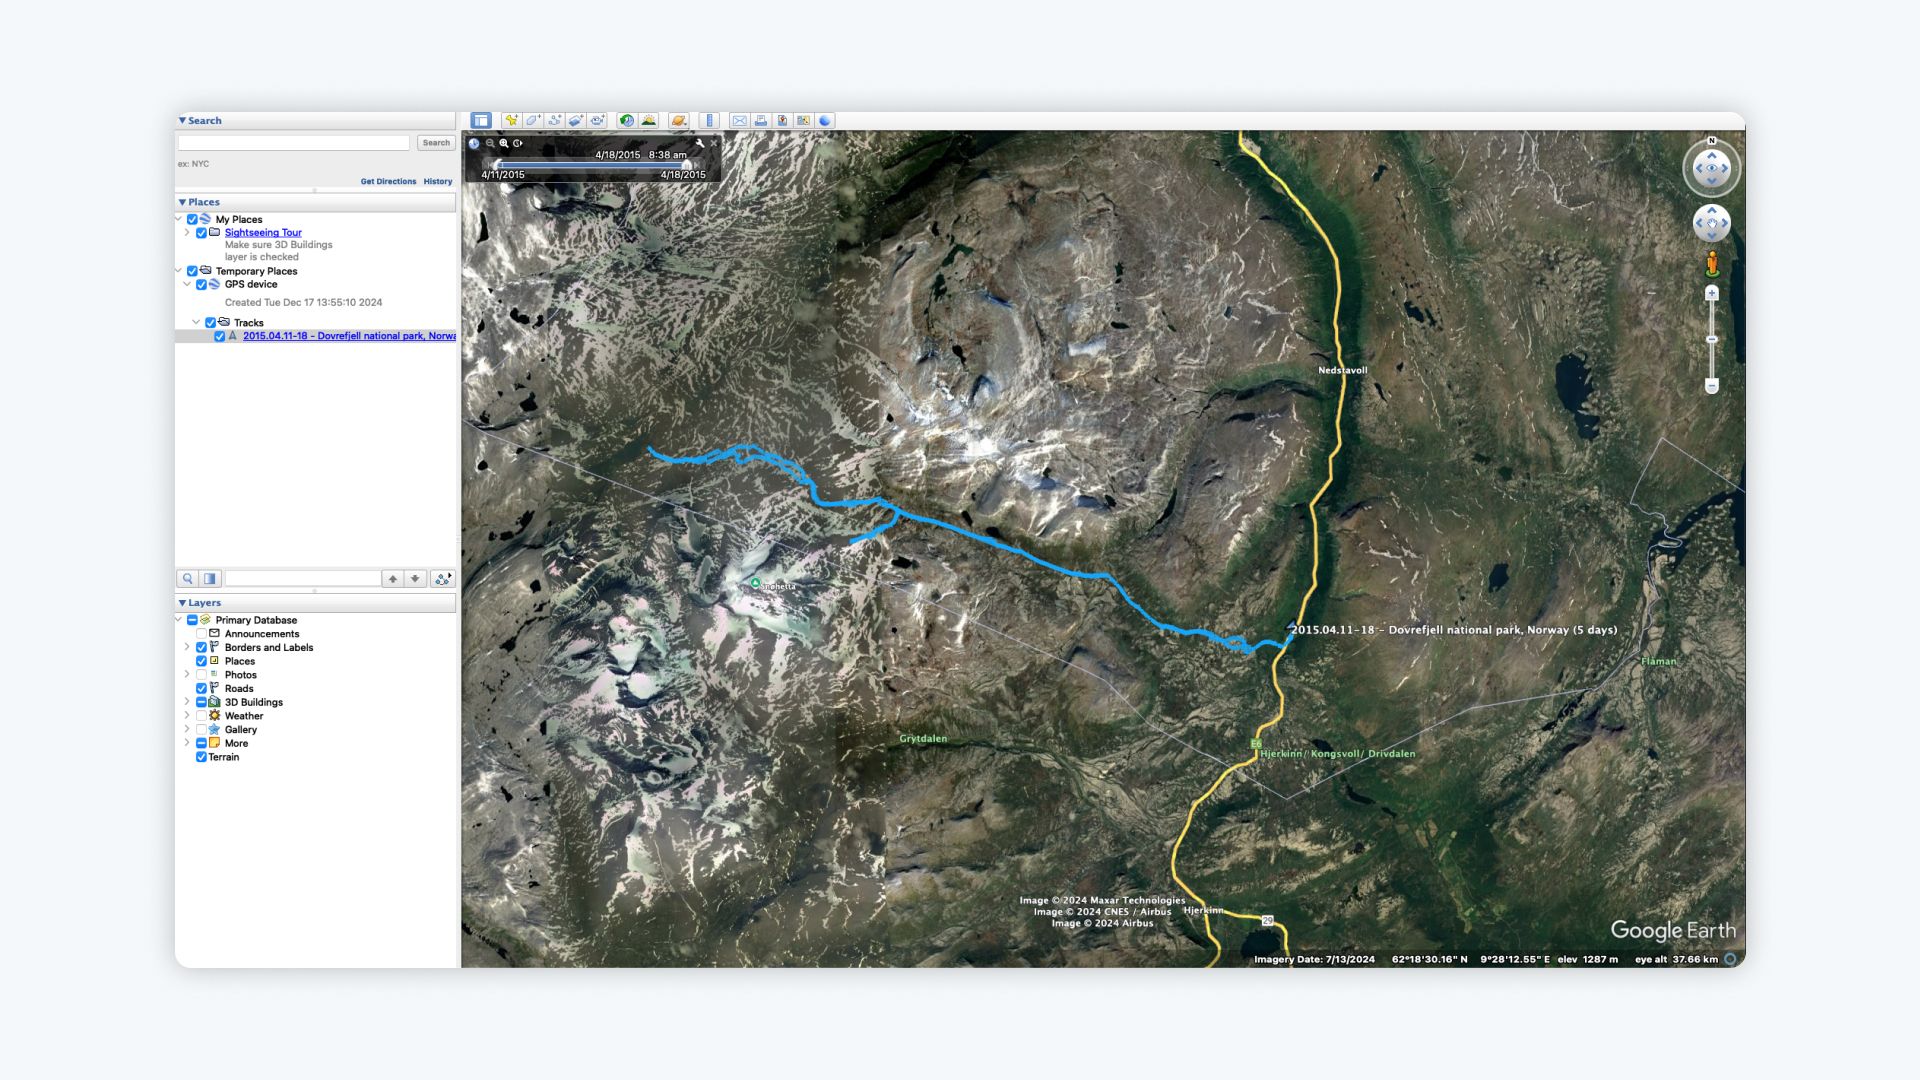
Once imported, your GPX file will appear in the Places panel under Temporary Places:
- Tracks and routes will display as lines on the map.
- Waypoints will appear as pushpin icons.
6. Customize Your GPX Data
Google Earth Pro allows you to style and adjust the imported data for better visualization:
-
Change Line Styles for Tracks and Routes:
- Right-click the track or route in the Places panel.
- Select Properties and adjust the Style, Color, and Width of the lines.
-
Edit Waypoint Icons:
- Right-click a waypoint.
- Select Properties, then choose a custom icon, label, or description.
-
Organize Your Data:
- Drag and drop your imported GPX data into folders to keep it organized.
-
Add Descriptions:
- Add notes, timestamps, or other details to waypoints or tracks for additional context.
Tips for Optimizing Your GPX Data in Google Earth Pro
-
Combine Tracks and Routes:
- Merge similar tracks or routes into a single path for cleaner visualization.
-
Use Historical Imagery:
- Compare your GPX tracks with historical imagery to analyze changes in landscapes or paths.
-
Save Your Work:
- Go to File > Save Place As to save your imported GPX data as a KML/KMZ file for easy sharing and future access.
-
Simplify Large Files:
- If your GPX file is too large, use tools like GPS Visualizer or Mapshaper to simplify the tracks.
Common Issues When Importing GPX Files
1. GPX File Not Displaying
- Ensure the file format is correct (.gpx) and not corrupted. Test it with another mapping tool if needed.
2. Data Appears Incorrectly on the Map
- Check that the GPX file uses the correct coordinate system (WGS84 is required for Google Earth Pro).
3. Large Files Crash Google Earth Pro
- Simplify the file by reducing the number of waypoints or tracks using an online GPX editor.
Why Import GPX Files into Google Earth Pro?
GPX files are incredibly versatile for a wide range of applications:
- Outdoor Activities: Visualize hiking, cycling, or running trails recorded on GPS devices.
- Field Surveys: Display data collected from fieldwork or research.
- Drone Routes: Analyze flight paths and coverage areas.
- Trip Planning: Import routes and waypoints for trips or outdoor excursions.
Google Earth Pro’s 3D terrain and satellite imagery make it an ideal tool for analyzing GPS data in a visually rich environment.
For More Advanced Mapping, Try Atlas
While Google Earth Pro is excellent for visualizing GPX data, tools like Atlas offer advanced features for professionals and teams.

Why Choose Atlas?
- Direct GPX Imports: Upload GPX files without conversion or extra steps.
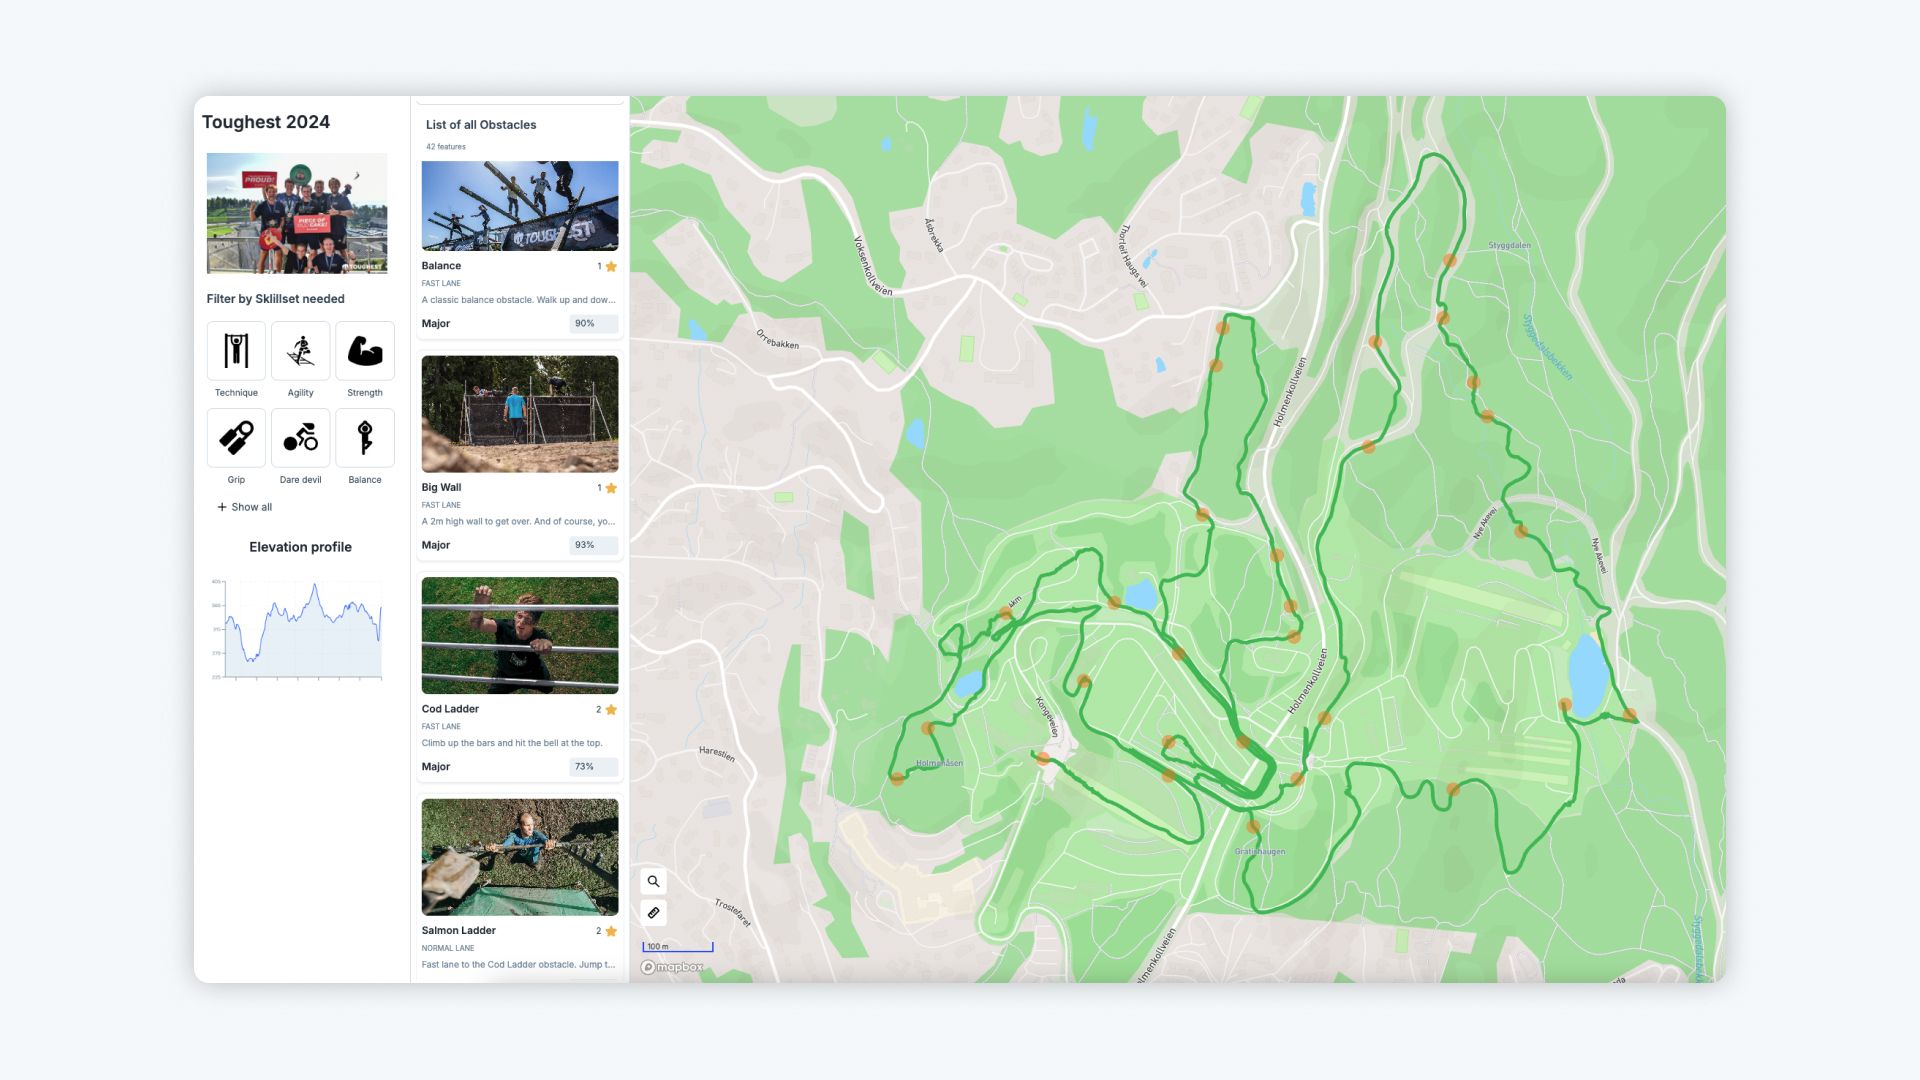
- Interactive Mapping: Create dynamic, web-based maps with custom layers and pop-ups.
- Real-Time Collaboration: Work on maps together with your team, all in your browser.
- Custom Styling: Easily adjust colors, labels, and icons for better visualization.
- Browser-Based: No installations required—just log in and start mapping.
Atlas simplifies mapping workflows, especially for teams needing interactive and collaborative solutions.
Conclusion
Importing GPX files into Google Earth Pro is a great way to visualize and analyze GPS data like tracks, routes, and waypoints. By following these steps, you can easily bring your data to life and customize it to meet your needs.
If you need more advanced tools, seamless collaboration, or interactive maps, consider exploring Atlas. With its modern features and intuitive interface, Atlas is perfect for teams and professionals looking to do more with their spatial data.
Ready to take your GPX files further? Sign up for free and try working with GPX data in Atlas today!


