Atlas just got even better. You can now add 3D models to your maps.
This new feature lets you create a more immersive experience. Instead of only flat layers, you can now bring your maps to life with three-dimensional structures. The update is available to all users, and it’s easy to start using right away.
Let’s dive into how it works and what you can do with it.
What Is the 3D Models Layer?
The 3D models layer allows you to add custom 3D objects directly to your maps in Atlas. These could be buildings, landmarks, sculptures, or any other physical object that you want to visualize on your map.
The feature is highly flexible. You can upload models in common formats like OBJ or GLTF, which are widely used for 3D designs. These formats ensure compatibility with most design tools. So, if you already have existing models, it’s easy to integrate them into your maps.
Once uploaded, you can position, rotate, and scale these models to fit them exactly where they need to be.
Why Use 3D Models in Your Maps?
Adding 3D models takes your maps from flat and basic to dynamic and engaging. This feature is useful in various scenarios:
1. Urban Planning and Architecture
If you’re a city planner or architect, this feature is a game changer. You can upload 3D renderings of buildings or infrastructure projects to get a sense of how they fit into the surrounding area.
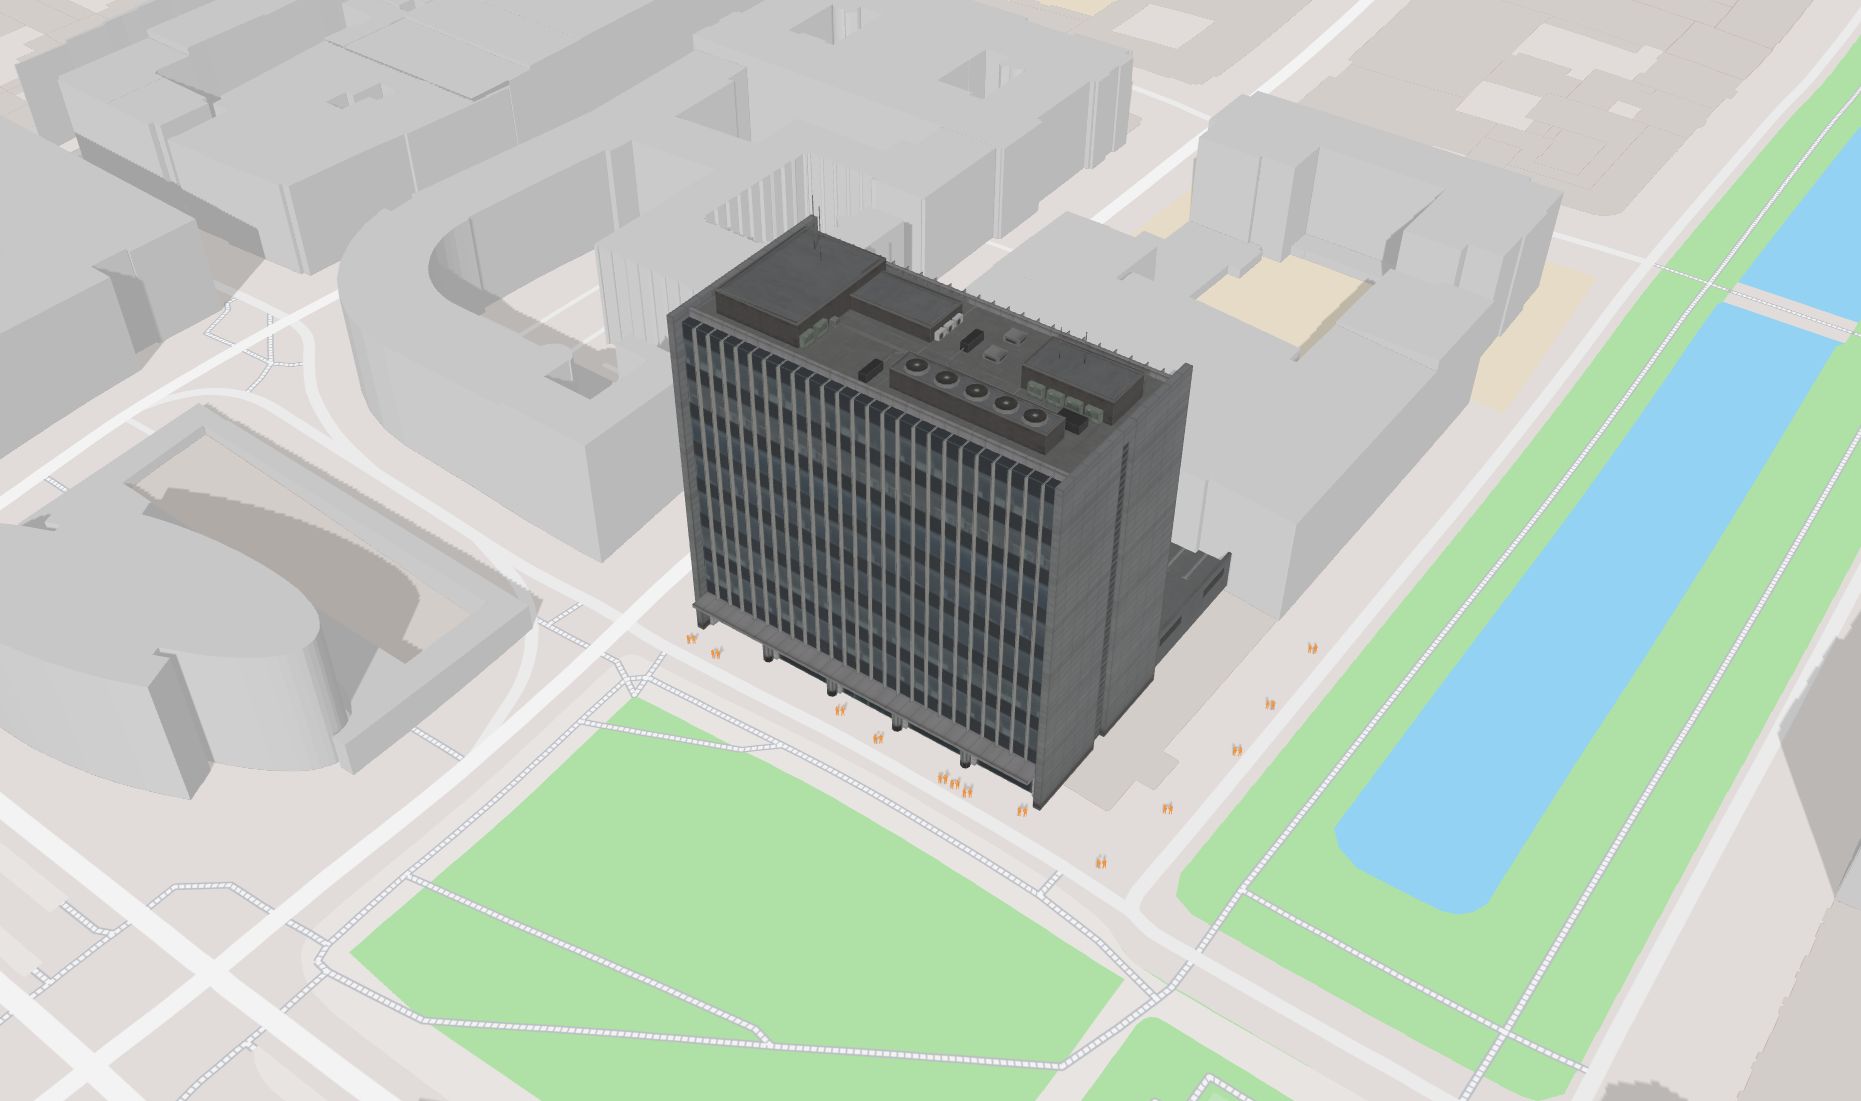
This isn’t just about visualization—it’s about interaction. You can rotate the map and zoom in from different angles to explore every detail of the model.
2. Tourism and Landmarks
For businesses in tourism, adding 3D models of famous landmarks can enhance visitor engagement. Imagine a map with a detailed 3D model of the Eiffel Tower, giving users a real sense of what it looks like.
This makes your map not only more informative but also more exciting for users to explore.
3. Education
For educational purposes, a 3D model can help make complex concepts easier to grasp. For example, you could add a 3D model of a historical site or a topographic model of a mountain range. Students can interact with these models, improving their learning experience.
4. Renewable Energy Projects
If you’re working on renewable energy projects, this feature offers a powerful tool for visualizing installations like wind turbines, solar farms, or hydroelectric facilities.
Imagine uploading a 3D model of a wind turbine to visualize how it will look on a specific plot of land. You can adjust its size, position, and orientation to simulate real-world conditions. This is especially useful for environmental assessments, planning, and public presentations.
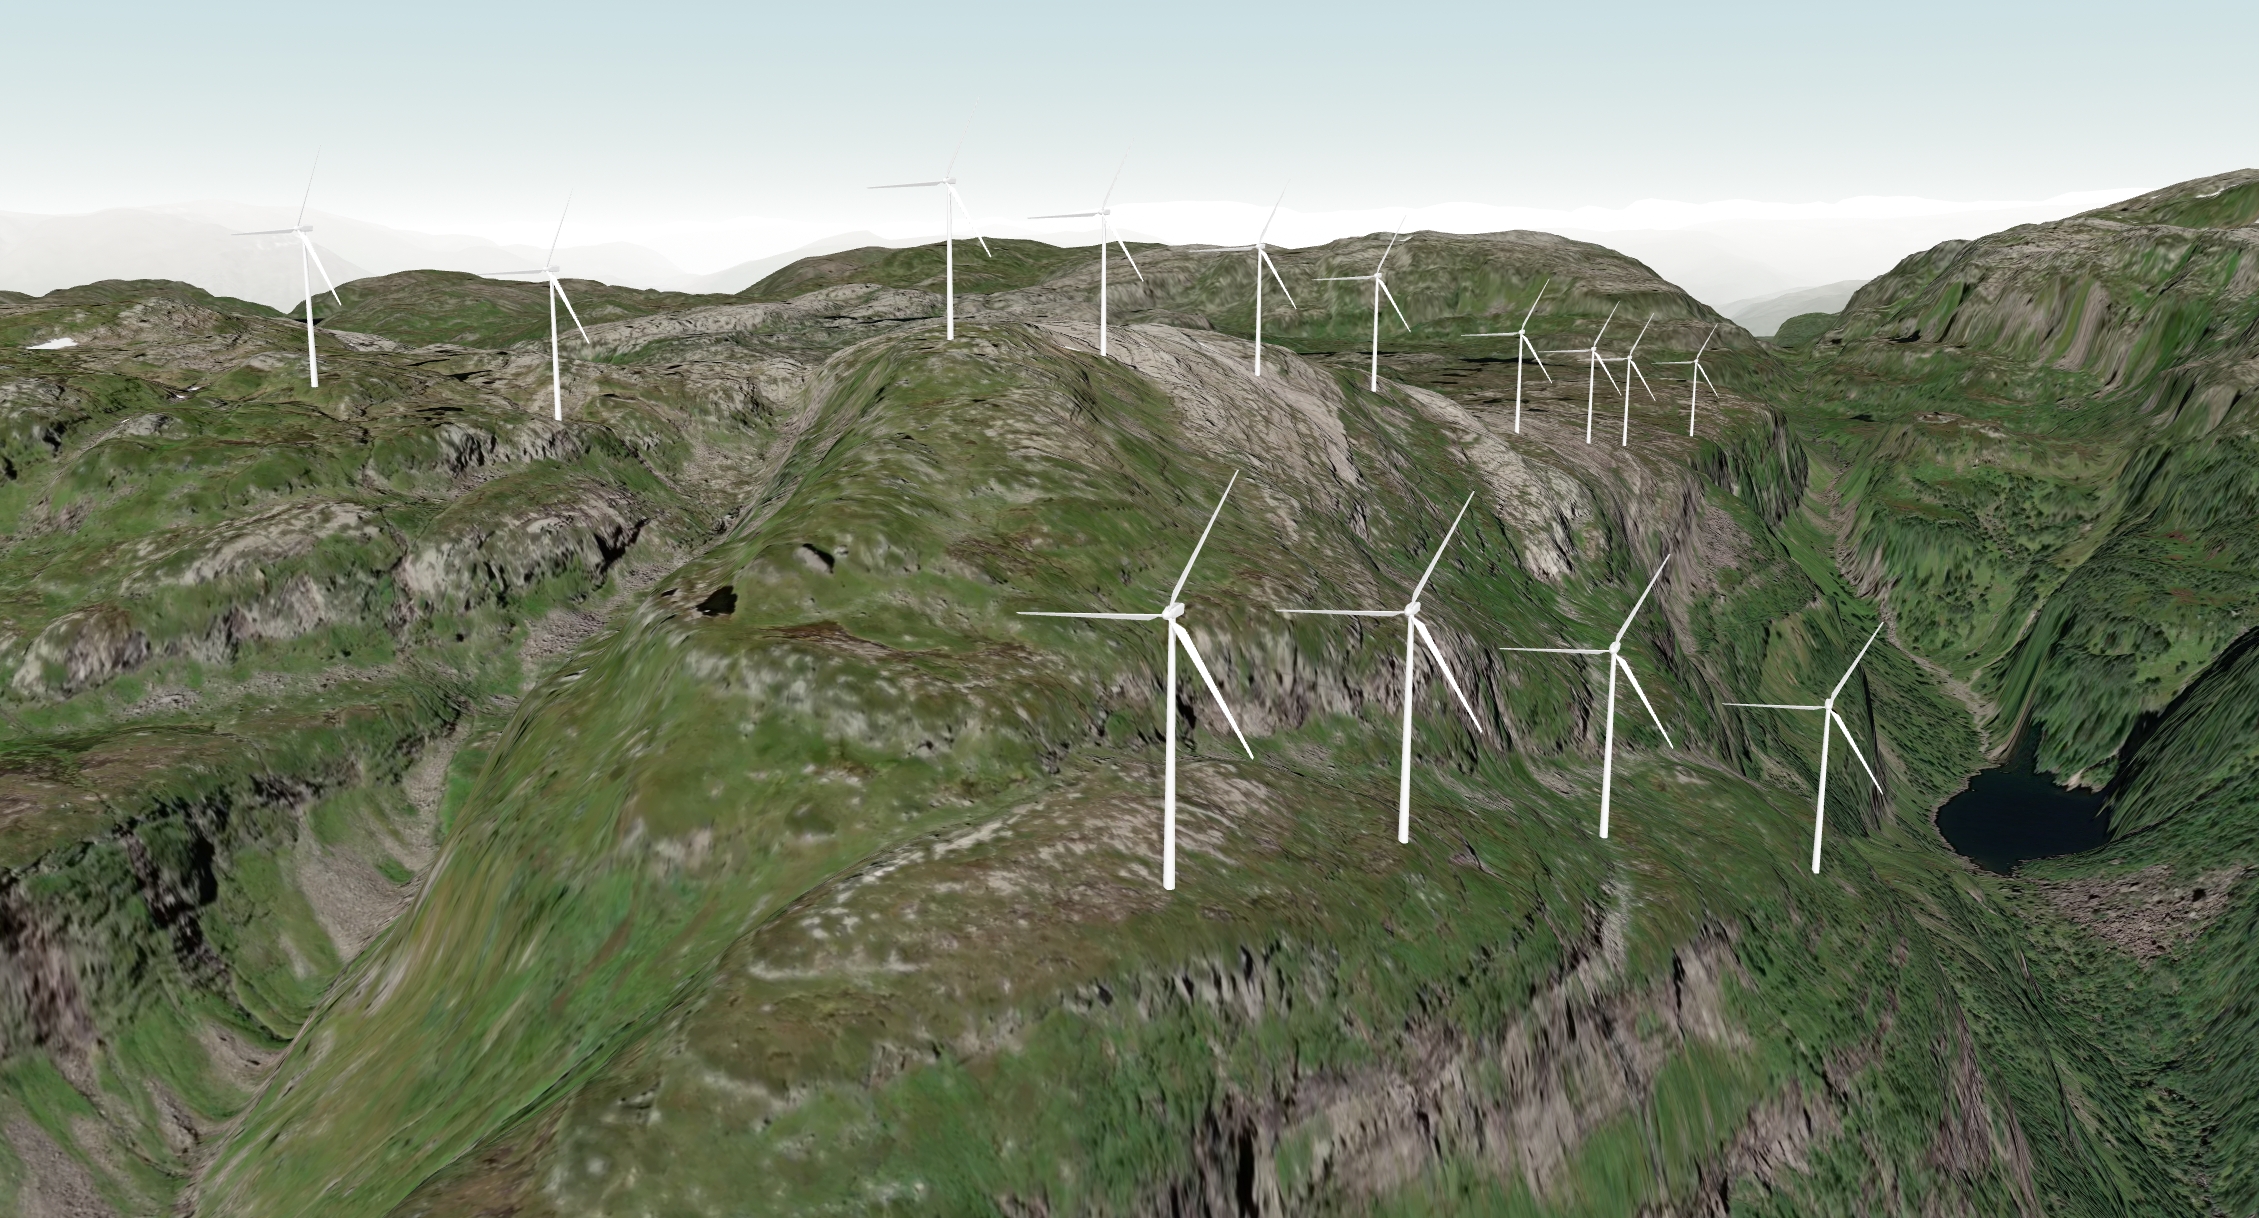
You can also place multiple turbines to see how an entire wind farm will look within a landscape. The ability to visualize these projects in 3D helps stakeholders better understand their potential impact on the environment and local communities.
How to Add 3D Models to Your Map
Adding a 3D model to your map is simple. Here’s a step-by-step guide to get you started.
Step 1: Prepare Your 3D Model
First, ensure your 3D model is in a compatible format, like OBJ or GLTF. You can create your model using any 3D software, or if you already have one, you can use that.
Make sure the model is optimized for web use. This means keeping the file size reasonable so that it loads quickly on your map. High-quality models with too many polygons might slow down the experience for users, so it’s a good idea to simplify the geometry where possible.
Step 2: Choose a Layer or Create a New
3D models need to be connected to an existing layer (it will be rendered on the centroids of the data).
- If you already have a layer you want to use for 3D, select it.
- If not; Create a new layer by drawing a geometry (point, line or polygon) and select it
Step 3: Change Layer Visualization
When a layer is selected you can navigate to the Layer settings in the right sidepanel. Here you can change the visualization type of the layer. To visualize 3D models, change it to 3D Model.
Step 4: Upload 3D Model
Click on the input field “Select model” to select a 3D model. Here you can choose from our built-in library of models or you can upload your own. Once uploaded, select it and your model will appear on the map. You can drag it to the desired location and adjust the size, rotation, and position. You’ll have full control over how it fits into the surrounding area.
Step 5: Adjust Sunlight
After placing your model, you can adjust the lighting to discover how the 3D model will create shadow in the surroundings.
Step 5: Share Your Map
Once you’re happy with how everything looks, simply share your map. The 3D models will be visible to anyone who views the map. They’ll be able to interact with the models by rotating and zooming in, just like with any other layer.